This guide will provide you with the basics and combos of Vegeta Blue (SSGSS) in Dragon Ball Fighterz Season 3.5.
Buttons
Blue Vegeta has a standard 5L and auto combo. All the hits are safe on block, but the Mediums are stubby and barely unsafe.
5H is fast and large, but it is unsafe as usual.

2H isn’t safe either; you will need to cover yourself with the Big Bang Attack.
j2H recovers incredibly fast. You can spam this and pretend to know what you’re doing. Nothing special about the other air buttons; jM will be your cross up button.
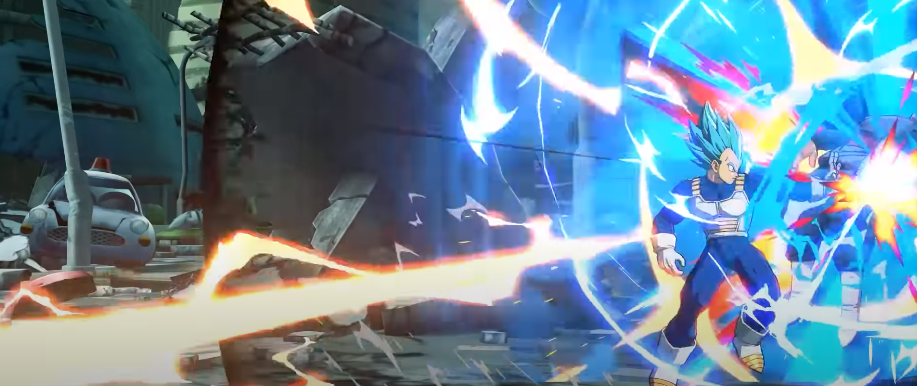
 5S and 25 are single Ki Blasts, with 25 going upward. 5S travels along the floor, under a lot of characters Ki Blasts.
Works the same in the air, except it is angled down. You can cancel into each other on whiff, and pressing either twice will automatically throw the other one. Oddly, jS will stall Vegeta’s momentum, but j2s won’t. It is unique to Vegeta; he can cancel any Ki Blast into Big Bang Attack or 12 Niagara Pummel on whiff.
It is important because, unlike all other characters, he can’t cancel them into 2H to react to Super dash.
He has to use Big Bang Attack and Niagara Pummel instead, which is worse as you’ll need a bar to confirm either one.

Specials
Super Dash Kick (236x, Air OK), A Rekka with two follow-ups that can all be done on whiff and will autocorrect.
Only the enders are safe on block, so don’t stop halfway through unless you have an assist.
The light version is a single shot kick mostly used in block strings. The medium has more range; it goes slightly higher and will recover in the air. You can use it for mix-ups and frame traps. 
The Heavy is the same as Light but with more range. It is a great neutral tool for getting in after 2S.
SDK Followup 1 (236X-X, Air OK), The Light followup is gapless, medium hits three times for more pushback but leaves a gap. 
SDK Followup 2 (236X-XX, Air OK)
The Light Ender is safe and gapless again; the medium will give a wall bounce for corner combos.

The Heavy ender will push far gaplessly and switch sides on the block but won’t steal the corner. 
(214X, Air OK), A series of command grabs. They will not catch crouching opponents.

The Light version is mostly used as a knockdown tool. 
On a scale of one to ten, Lu will give you a three.
(214X, Air OK), The Medium version has more range but likes to whiff due to its angle.
The advantage is that you can combo off of it meterless near the corner. 
(214X, Air OK)
The Heavy version has more range, goes at the same angle as Light, and gives a huge wall bounce.
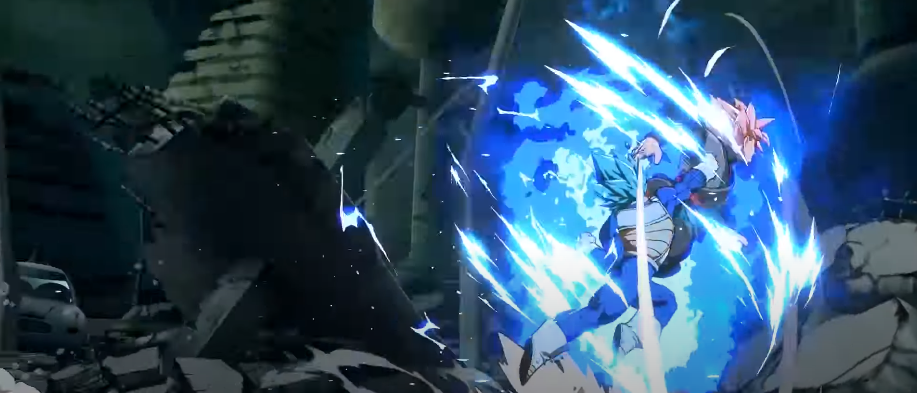
Big Bang Attack (236S, Air OK)
A beam property projectile. Angled down when used in the air. 
It takes quite a while to charge up but has a hitbox while charging. 
Safe on block midscreen due to the pushback, but punishable in the corner with the right button.

A Assist
Big Bang Attack on demand, with all of its pros and cons. Very slow, hard to combo and low blockstun. Good defensive assist, though.

B Assist
A much more standard lariat-type assist with a big ground bounce and generous hitbox. Decent blockstun.
C Assist
It tracks to the enemy only when grounded. Good hitstun and blockstun even for a C-type.
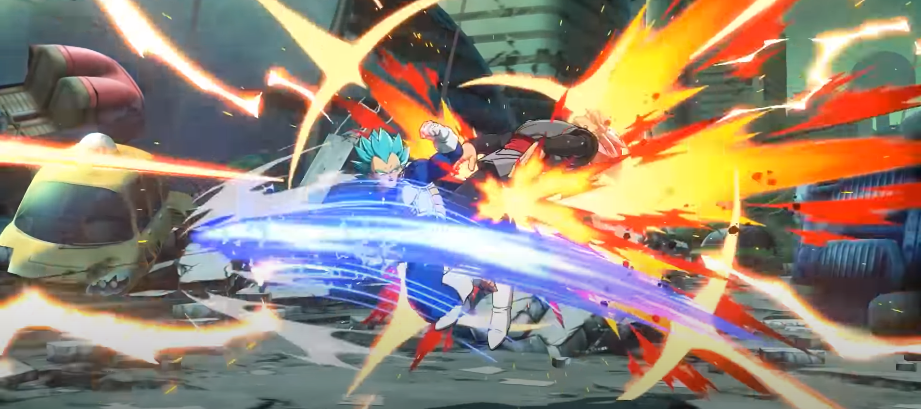
Niagara Pummel
The normal version of the Super looks like this. 
However, holding down an attack button will only do the first punch.
It allows you to continue comboing afterwards if you haven’t used your smash yet. Since it goes full screen, you can confirm a lot of hits into a combo using it. Think of it as an alternative to Vanish. 
It is fully invincible after startup, but it’s fairly slow, so don’t use it like a reversal.  Start your pressure with staggers. The frame data on Vegeta’s Lights is pretty good, resulting in strong pressure.
2L5L, 2L2L, 4LL, 5L2L, etc.
Alternative Safe Gapless Blockstrings
5LL > 2M5M > 5S 5S 
And 2S are generally good points for resetting your blockstrings.
2L5LL > 2M5M > 5H2S > 66 5LL… 
Since you can still go into Rekkas, the enemy is discouraged from mashing. 236M will frame trap and confirm into a combo.
2L5LL > 2M5M > 5H > 25 > 236M-LH>…

Using 5S and 2s in the same string will give you two possible reset points.
2L5LL > 2M5M > 5S >5H> 25 > 66 5L2L…  The 5H in the previous string will even beat guard cancel Superdash.
4LL > 2M5M > 5S > 5H>…  You can exploit their reflect options by using this string.
2L5LL > 2M5M > 2S > 5H > 55 > 236M-MM 
Holding a Rekka is something they will want to avoid since blocking one can easily go into a 50/50.
2L5LL > 2M5M > 5H > 236M > A1 66 L OR (land) 2L
 You can spend half a bar for 236M-H to negate all pushback, though. Otherwise, the mix-up works the same.
A few miscellaneous things: 236X-M or 236X-XM will always leave a gap that acts as a frame trap.  5LLL is a legitimately useful blockstring. Most players will try to take their turn only to get hit by 236M.
 236X-HM works as an easy but reactable cross up too. It might be useful if they don’t know the matchup.

Midscreen BnB
4235 damage /3777 scaled | +1.1 bar
You can do both ki blast near the corner
2M5M – jMLL2H – SD – jMLL2HjcLLS – j214L
(You can use both Ki Blasts near the corner.)
Vanish Extension
5025 damage /4337 scaled | +0.45 bar
2M5M – jMLL2H – SD – jMLL2HjcLLSS – j236M~LM – Vanish – (whiff j214L) jLL2S – j214L

Easy Side Switch
4512 damage /3915 scaled | +0.1 bar
2M5M – jLLSS – j236M~HM – SD – jLL2HjcLLS – j214L
Midscreen Rejump
4265 damage /3792 scaled | +1.1 bar
It is Pretty easy due to j2S hitstun.
5M2M – 5H – (dl) SD – 66 jM – (dl) j2S – (land) jLL2HjcLLS – j214L

Mid-Corner Rejump
4780 damage /4077 scaled | +1.5 bar
sjMLL can be replaced with jLL like before.
5M2M – 5H – (dl) SD – 66 jM – (dl) j2S – (land) sjMLL2HjcLLSS – SD – jLLSS – j214L
( …- (dl) j2S – (land) jLL2H works too.)
Corner to Corner
5042 damage /4150 scaled
5M2M – 236M~LH – (land) 66 5LLL – SD – jLL2HjcLLS – j214L

Mid-Corner BnB
4566 damage /3972 scaled | +1.6 bar
2M5M – jLLSS – j236M~MM – j2HjcLLSS – SD – jLLSS – j214L

Corner BnB
5127 damage /4235 scaled | +1.75 bar
5M2M – 236M~LM – 2M5H – 5SS – jLL2HjcLLSS – SD – jLLSS – j214L
Advanced Corner BnB
5292 damage | +1.9 bar
Scaled version is not worth doing
5M2M – 236M~LM – (dl) 2M(dl)5H(dl)5S – (dl)5L5H2S – jLL2HjcLLSS – SD – jLLSS – j214L

214M/H Corner Confirm
3461 damage | +0.2 bar
214M/H – 66 2M(dl)5H(dl)5S – 5L5H2S – jLL2HjcLLSS – SD – jLLSS – j236M~HM – Vanish – DR
(… – 2M5H – 5SS – … is also possible.)

Vanish Confirm
2277 dmg
… – Vanish – 66 2M(dl)5M – 2S – SD – jLL2HjcLLS- j214L
(If you’re fast, you can fit a Big Bang Attack after Ki Blasts, but it’s not required. Alternatively, you can do … – 66 (whiff 5L)LL – SD – … )

2H Punish
3565 dmg | +0.8 bar
2H – SD – jMLL2HjcLLS – j214L
DR Route
2892 damage | +1.45 bar
DR – jML2HjcLLS – j214L
Superdash Confirm
2190 damage | +0.5 bar
SD – jMLjcLLS – j214L

Superdash EX Rekka Confirm
2905 dmg
SD – jLLSS – 236M~LH – j2H – jcLLS – j214L
(In the corner, you can use 236M~LM instead and add a jS. Use DR after Rekka if you don’t have a double jump.)

Niagara Combos
Corner Niagara
5742 damage/4917 scaled
5M2M – 236S – 236L+M – (dl) 2M(dl)5H(dl)5SS – jLLSS – SD – jLL2HjcLLSS – j214L
Corner Niagara Advanced
5982 damage
The scaled version is not worth doing.
5M2M – 236S – 236L+M – (dl) 2M(dl)5H(dl)5S – 5L5H2S – jLL2HjcLLSS – SD – jLLSS – j214L
Niagara Corner to Corner
5252 damage /4647 scaled
5M2M – 236M~LL – 236L+M – 66 5LLL – SD – jLL2HjcLLSS – j214L
Niagara Ki Blast Confirm
3605
5SS – 236L+M – 66 (whiff 5L)LL – SD – jLL2HjcLLS – j214L
(If you’re fast enough, you can fit a BBA before Niagara for 500 extra damage.)

Assist Combos
Basic BnB Extension
5074 dmg/ 4310 scaled | +1.6 bar
2M5M – jMLjcLLL – A1 – (land) 5M – jMLL2H – SD – jMLL2HjcLLSS – j214L

BnB Side Switch
4675 damage /4310 scaled | +1.45 bar
2M5M – jMLL2H – 9 SD – jLLL – A1 – (land) SD – jLL2HjcLLS – j214L
(For scaled do … – jM2H – 9 SD – …)
Fancy Combo (Base Goku A/DBS Broly A)
8411 dmg/ 7362 scaled | -2 bar
2M5M – jMH – A1 – (land) 214M – 66 2M5H – 5SS – jLLSS – SD – jLL2HjcLLL – A2 – DR – 236H+S – Spirit Bomb
(Scaled Route: 2M5M – jMH – A1 – (land) 214M – 66 2M5H – 2S – jLL2S – SD – jM2HjcLLL – A2 – DR – 236H+S – Spirit Bomb)

TODs
1.5 Bar Corner (Gogeta A/Any Beam)
2M5H – 236S – Sparking – 5H – 236S – A1 – jM2S – SD – jM2HjcLLL – A2 – (land) 5L – jLL2HjcLLL- A2 – Lvl1 Lvl1 Lvl3

7 Bar Sparkless Limit Break
2M – 236H~HH – 66 5LLL – SD – jLL2HjcLLSS – j236H~MM – Lvl5