This guide will tell you how to install Trucking Missions in Grand Theft Auto 5.
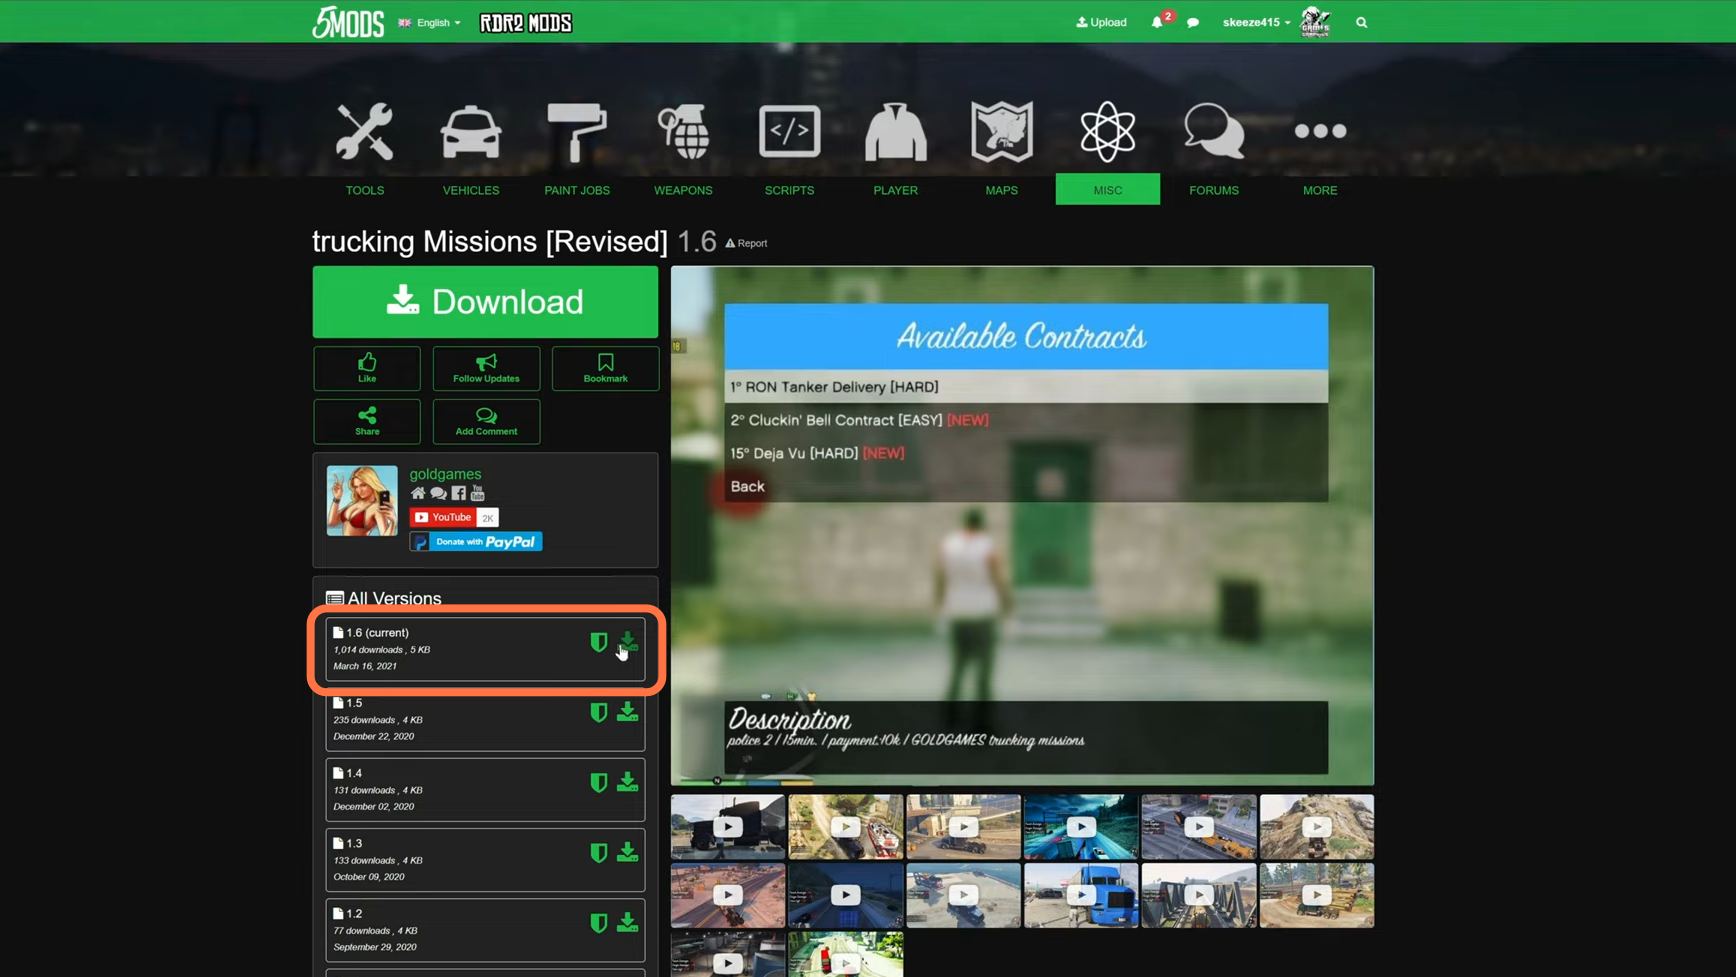
2. Now download the Trucking Missions [Revised] mod from here: “https://www.gta5-mods.com/misc/trucking-missions-revised“. Download the mod by clicking on the download arrow icon at the front of the mod version under the All Versions section.
3. The other things we require are a “Scripthookv”, “ScripthookDotNet” and “Naive UI”. You can download Scripthookv from this website: “http://www.dev-c.com/gtav/scripthookv/“, ScripthookDotNet from here “https://github.com/crosire/scripthookvdotnet/releases” and Naive UI from this link “https://gtaforums.com/topic/809284-net-nativeui/“. Now once you have installed all your requirements go to the downloads folder to see Trucking missions and trucking missions revised downloaded files. On the other hand, open the Grand Theft Auto V main directory side by side with the downloads folder and find the scripts folder here. If you don’t find it, then create an empty folder and name it scripts. Make sure you have installed all of your requirements files inside it.
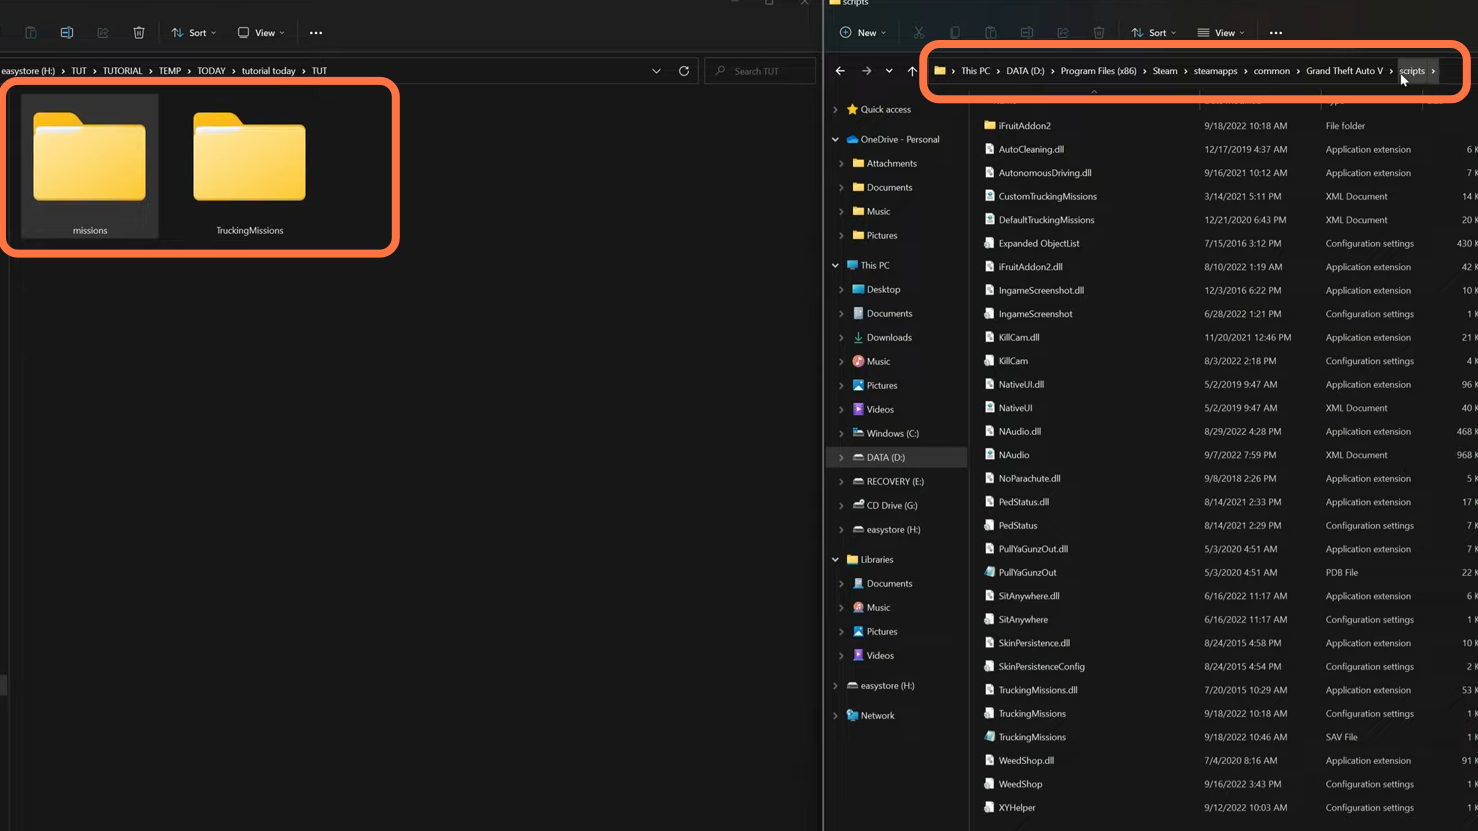
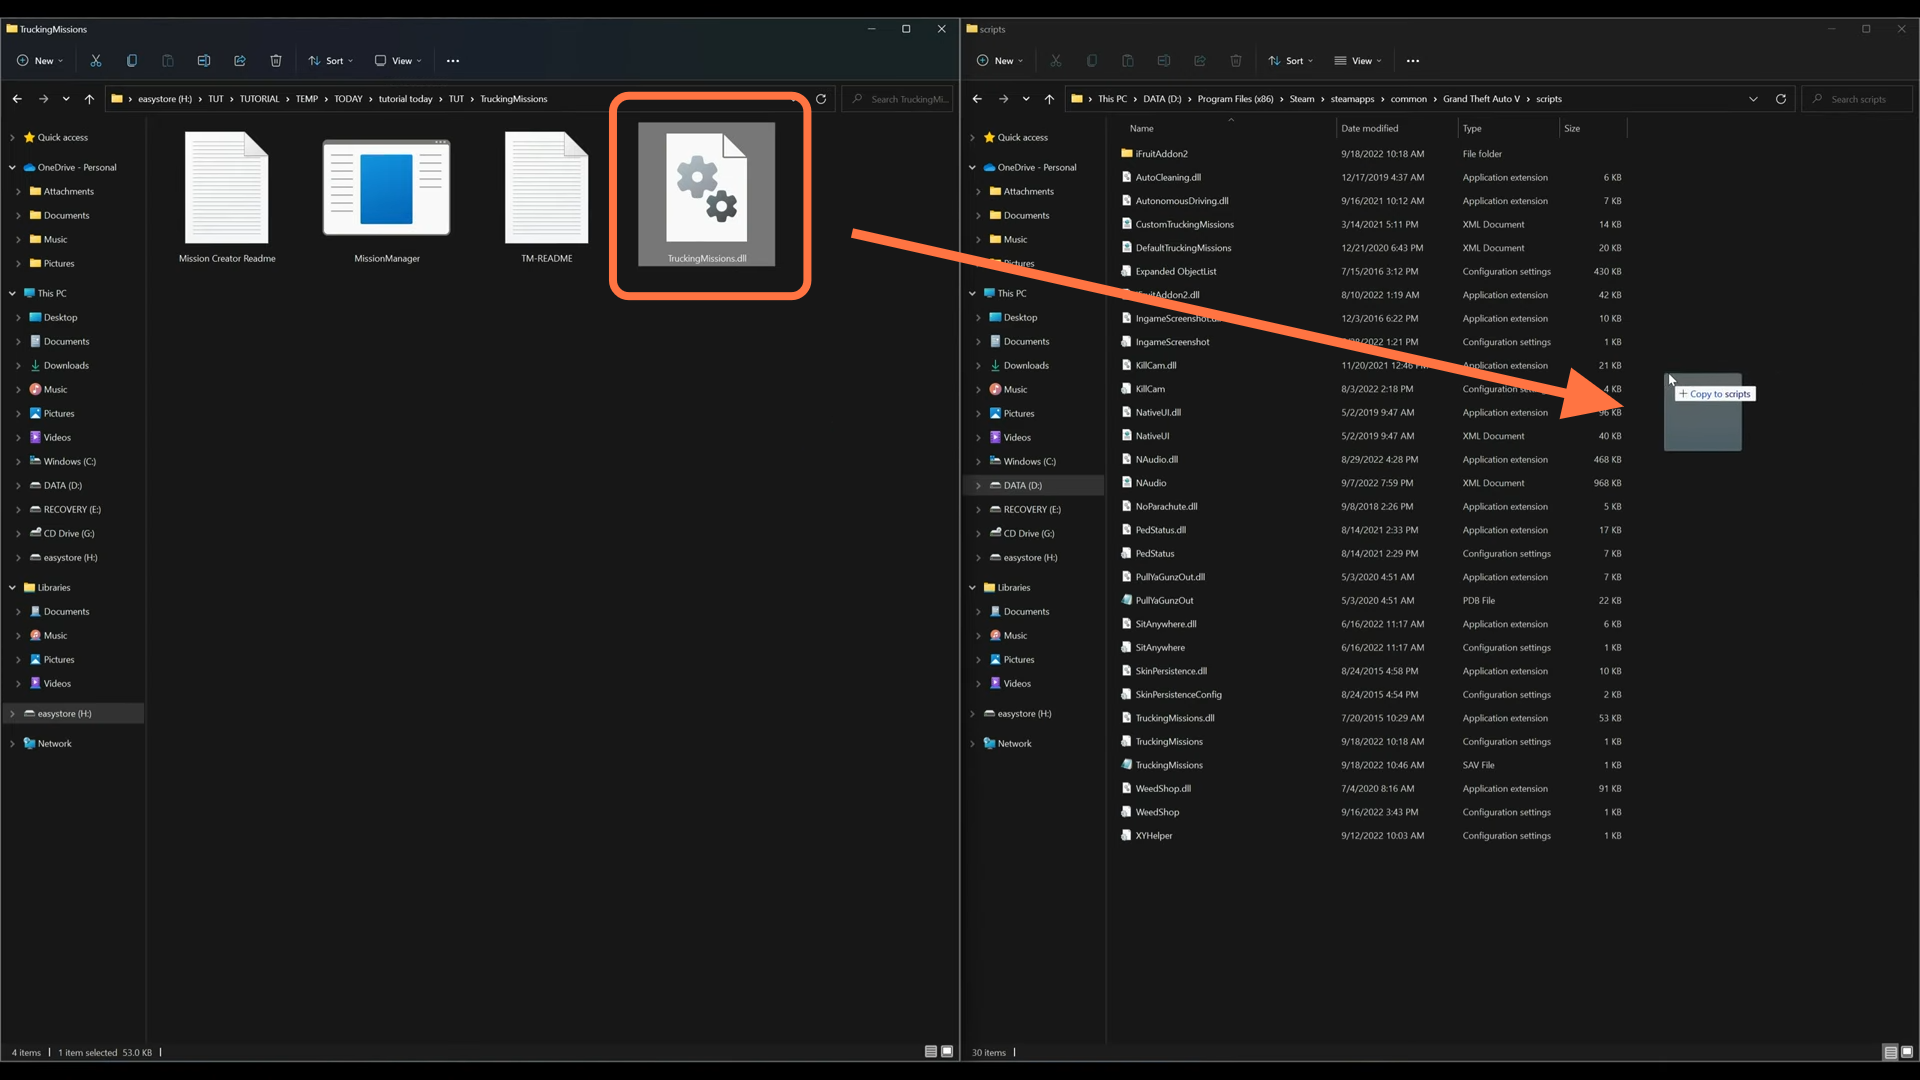
4. Now open up our trucking missions folder from the downloads folder.
5. Now just drag the “TruckingMissions.dll” file into the scripts folder in the main directory of GTAV.
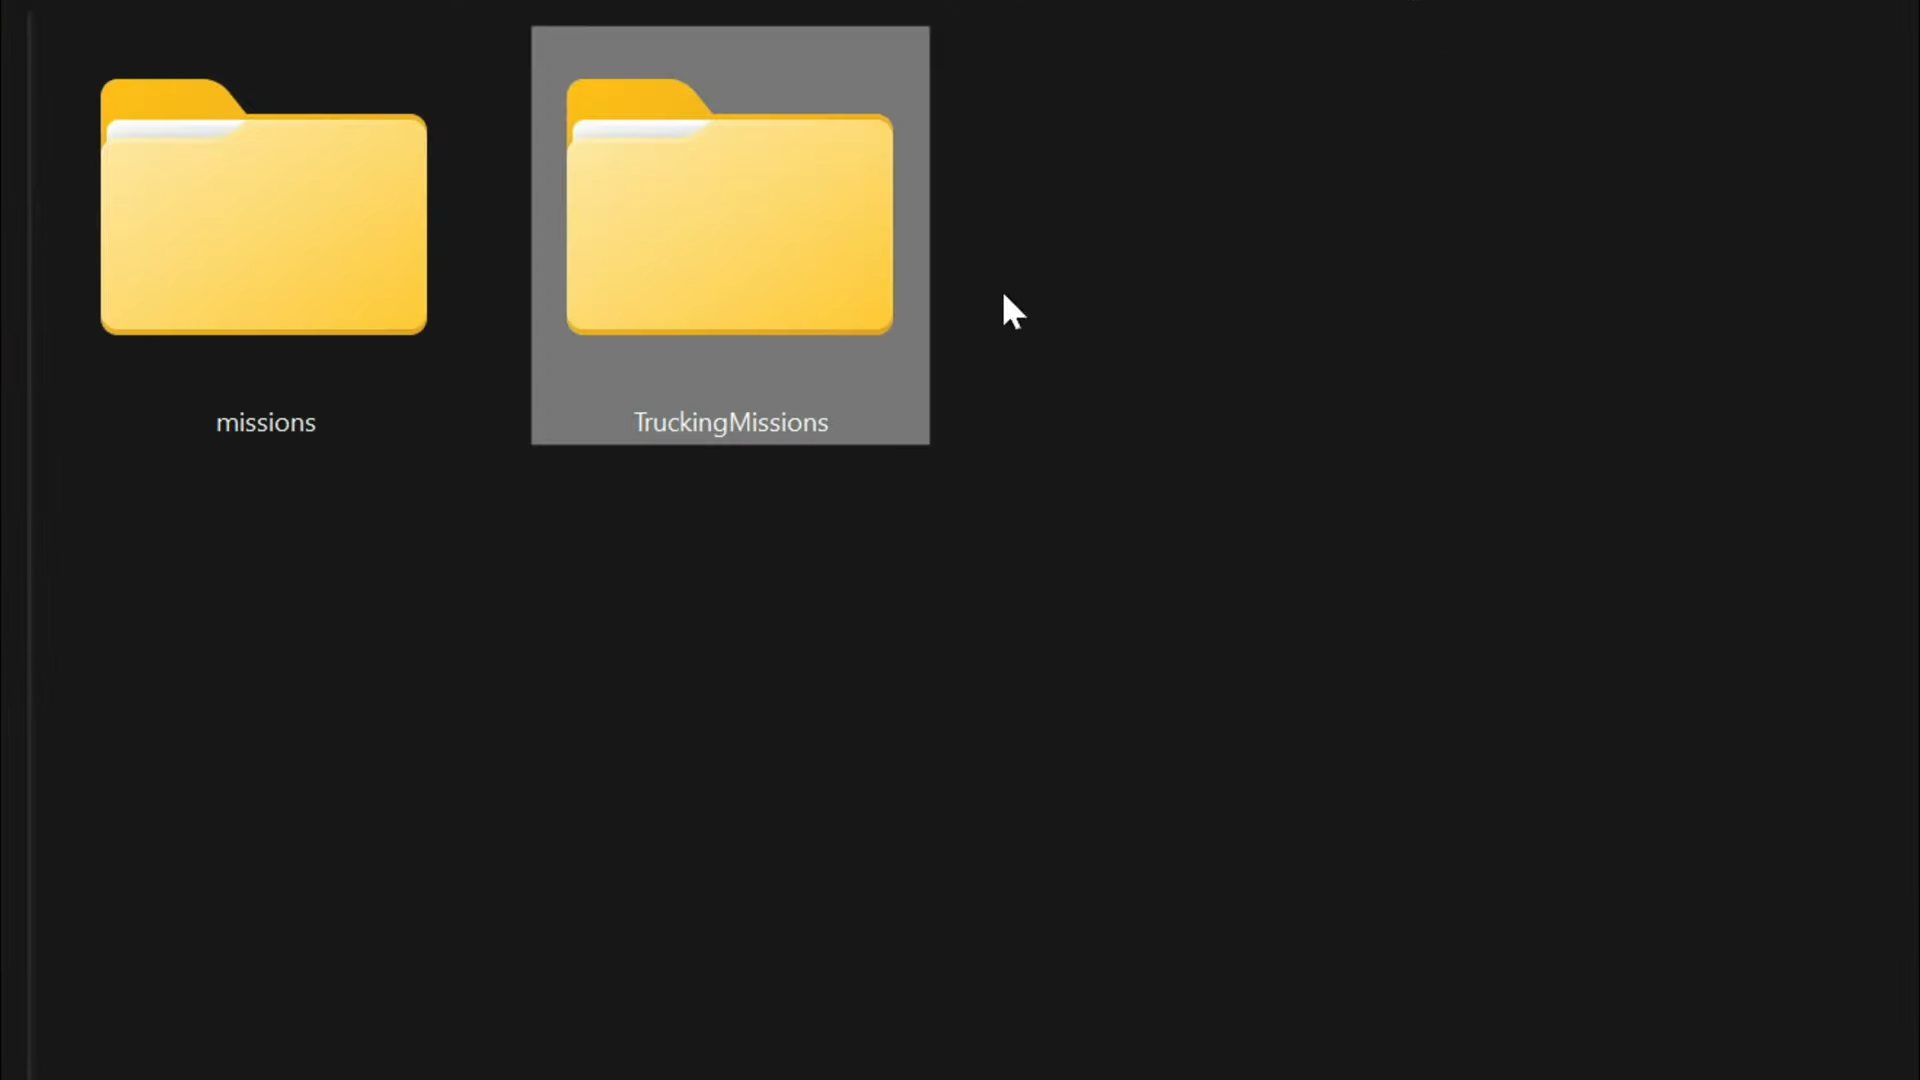
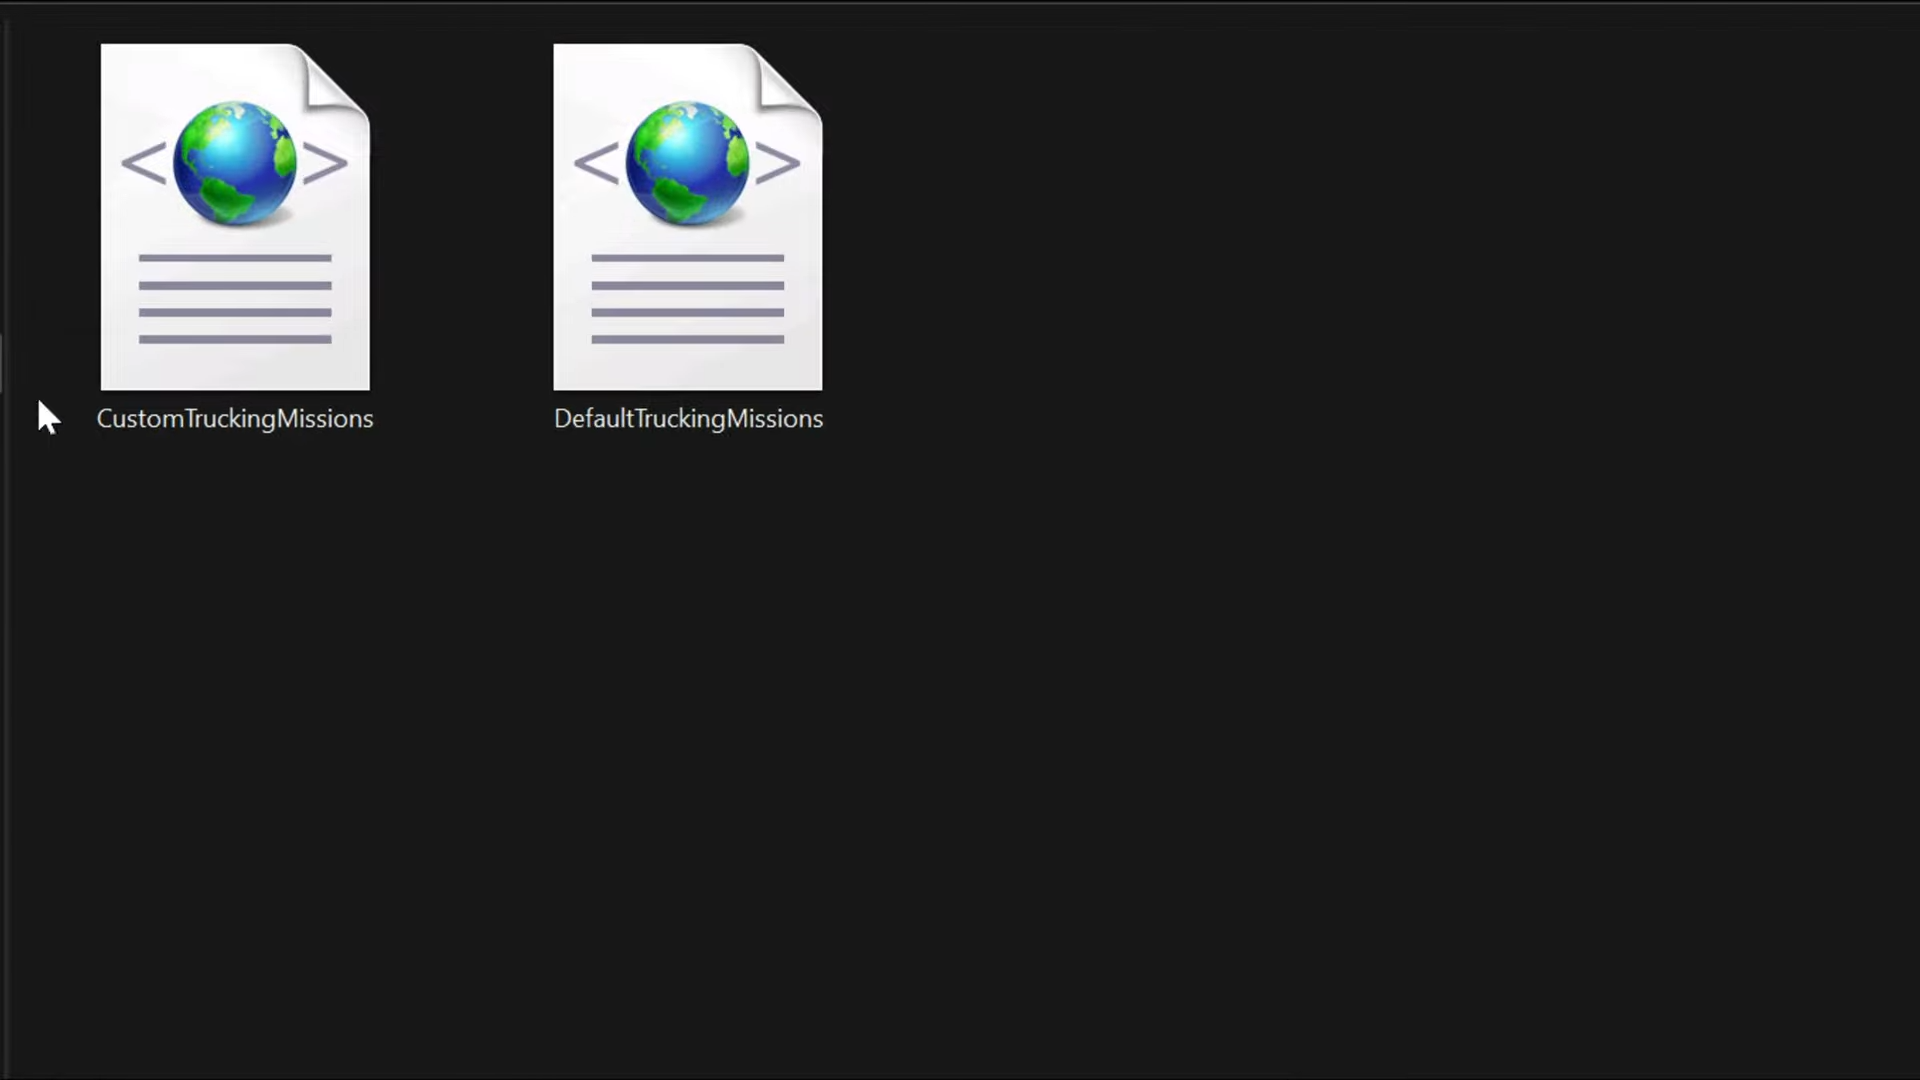
6. Now go back to our downloads folder and open up the missions folder and you will get two XML documents.
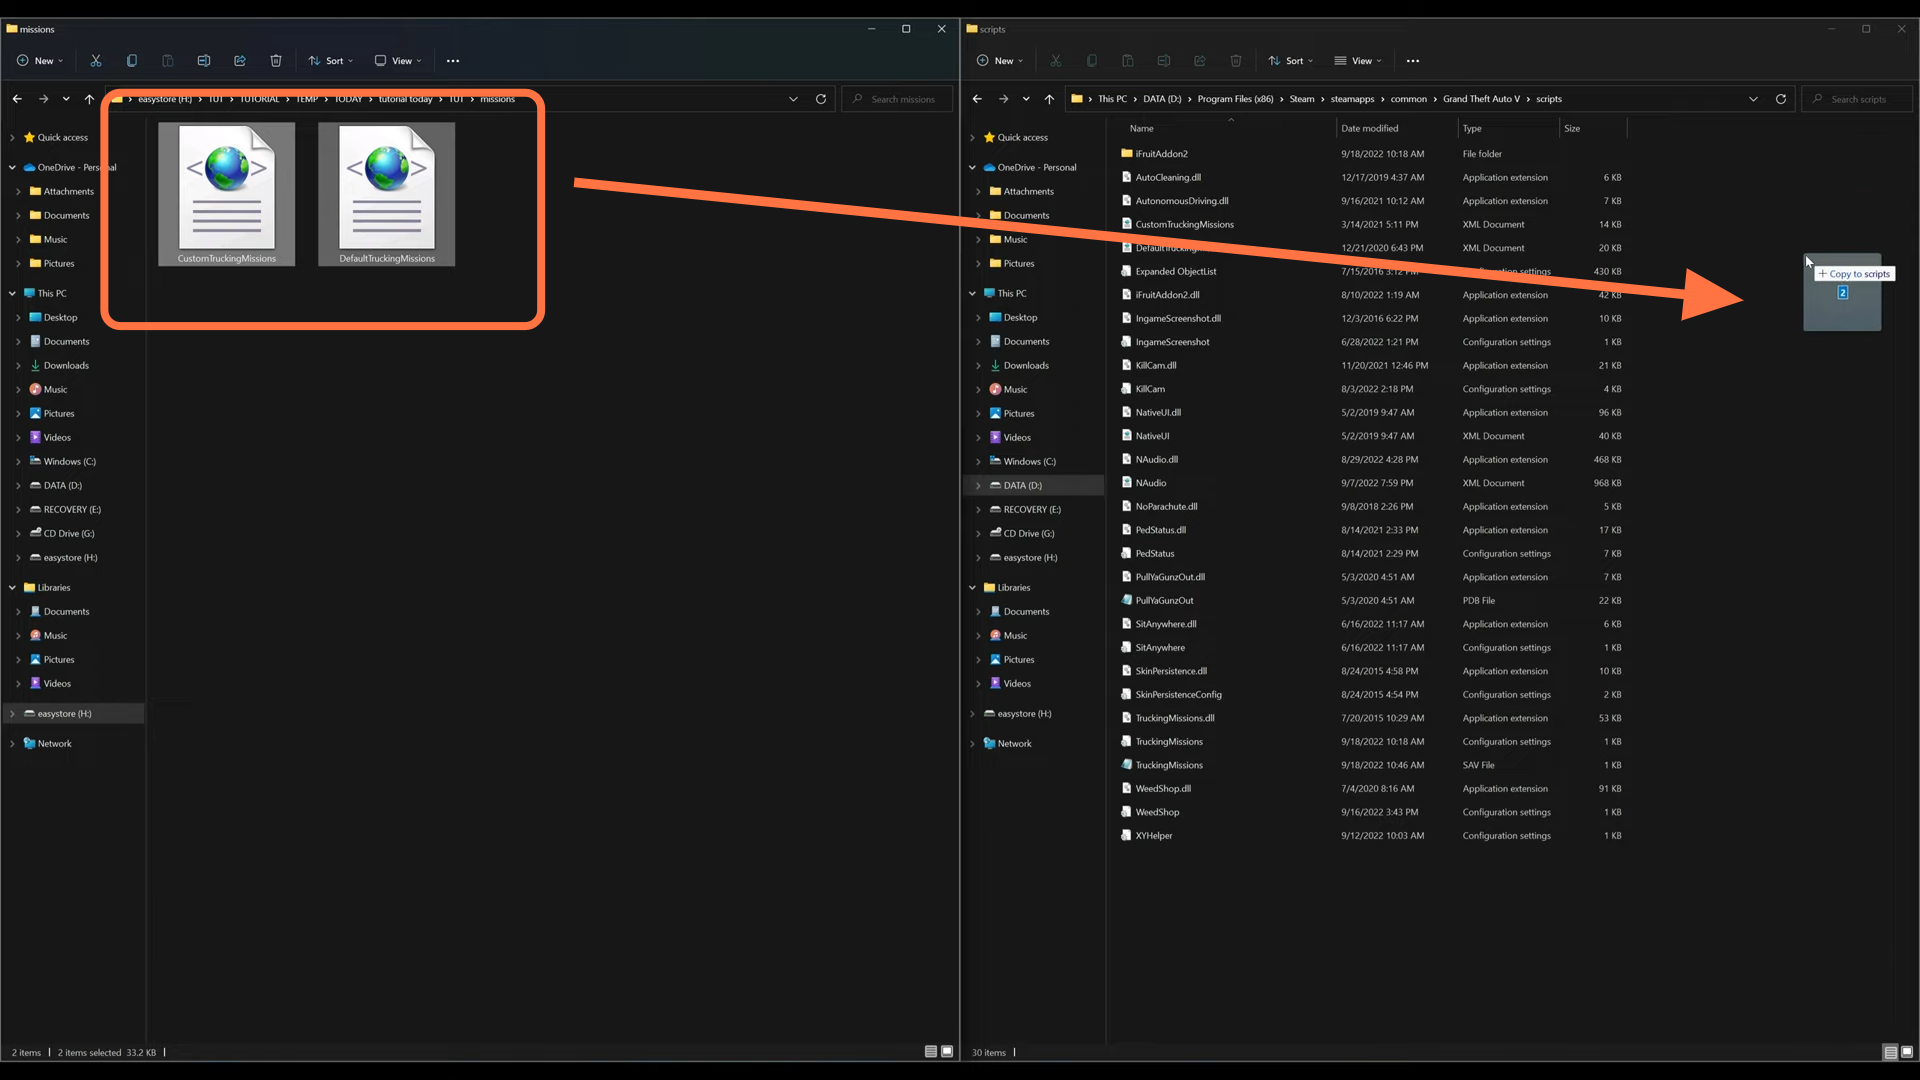
7. We need to select both files and drag and drop them into the scripts folder as well.
8. Now close all the windows and just run the game. Once you spawn into the game and when the menu appears pause the game. Open the map and there will be a little truck blip on the map.
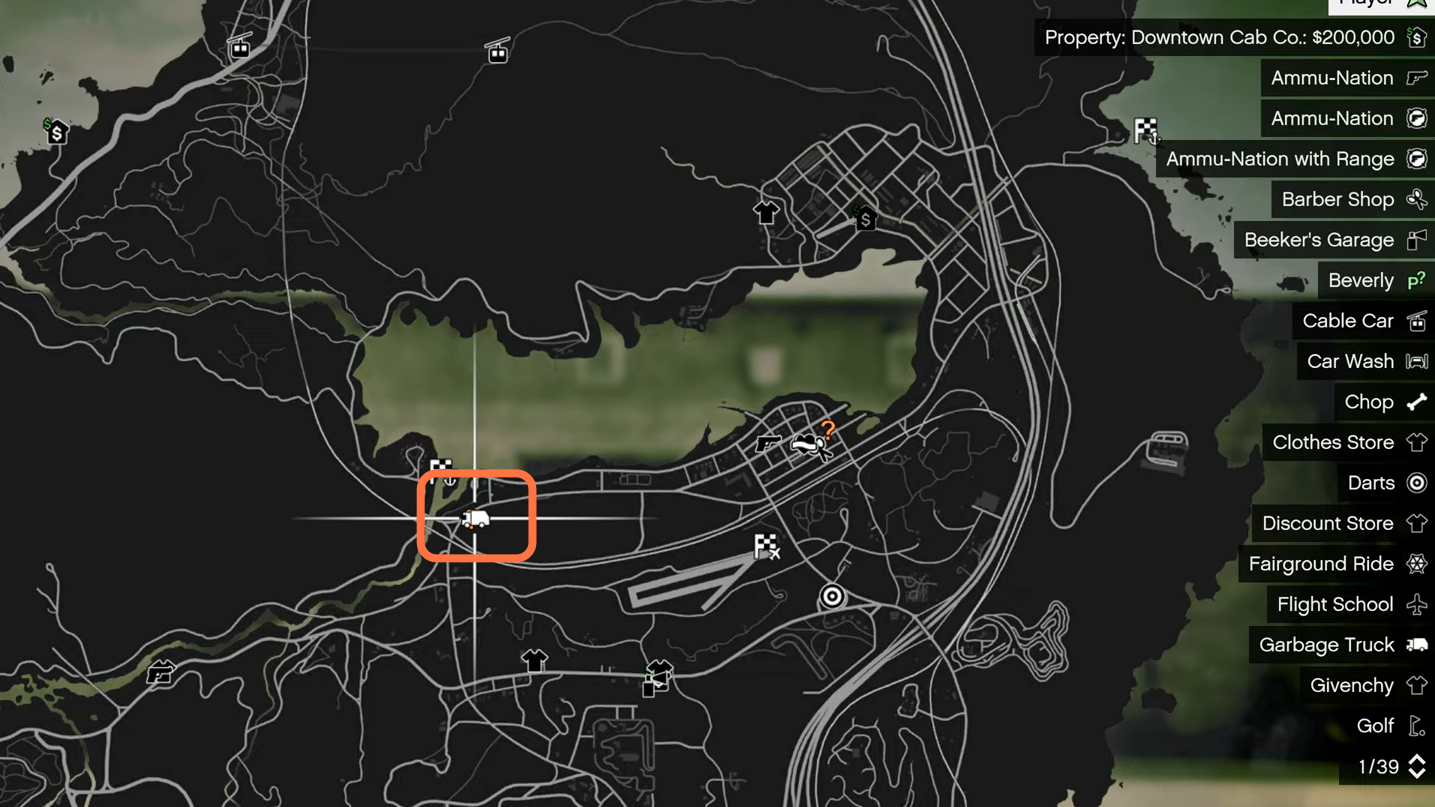
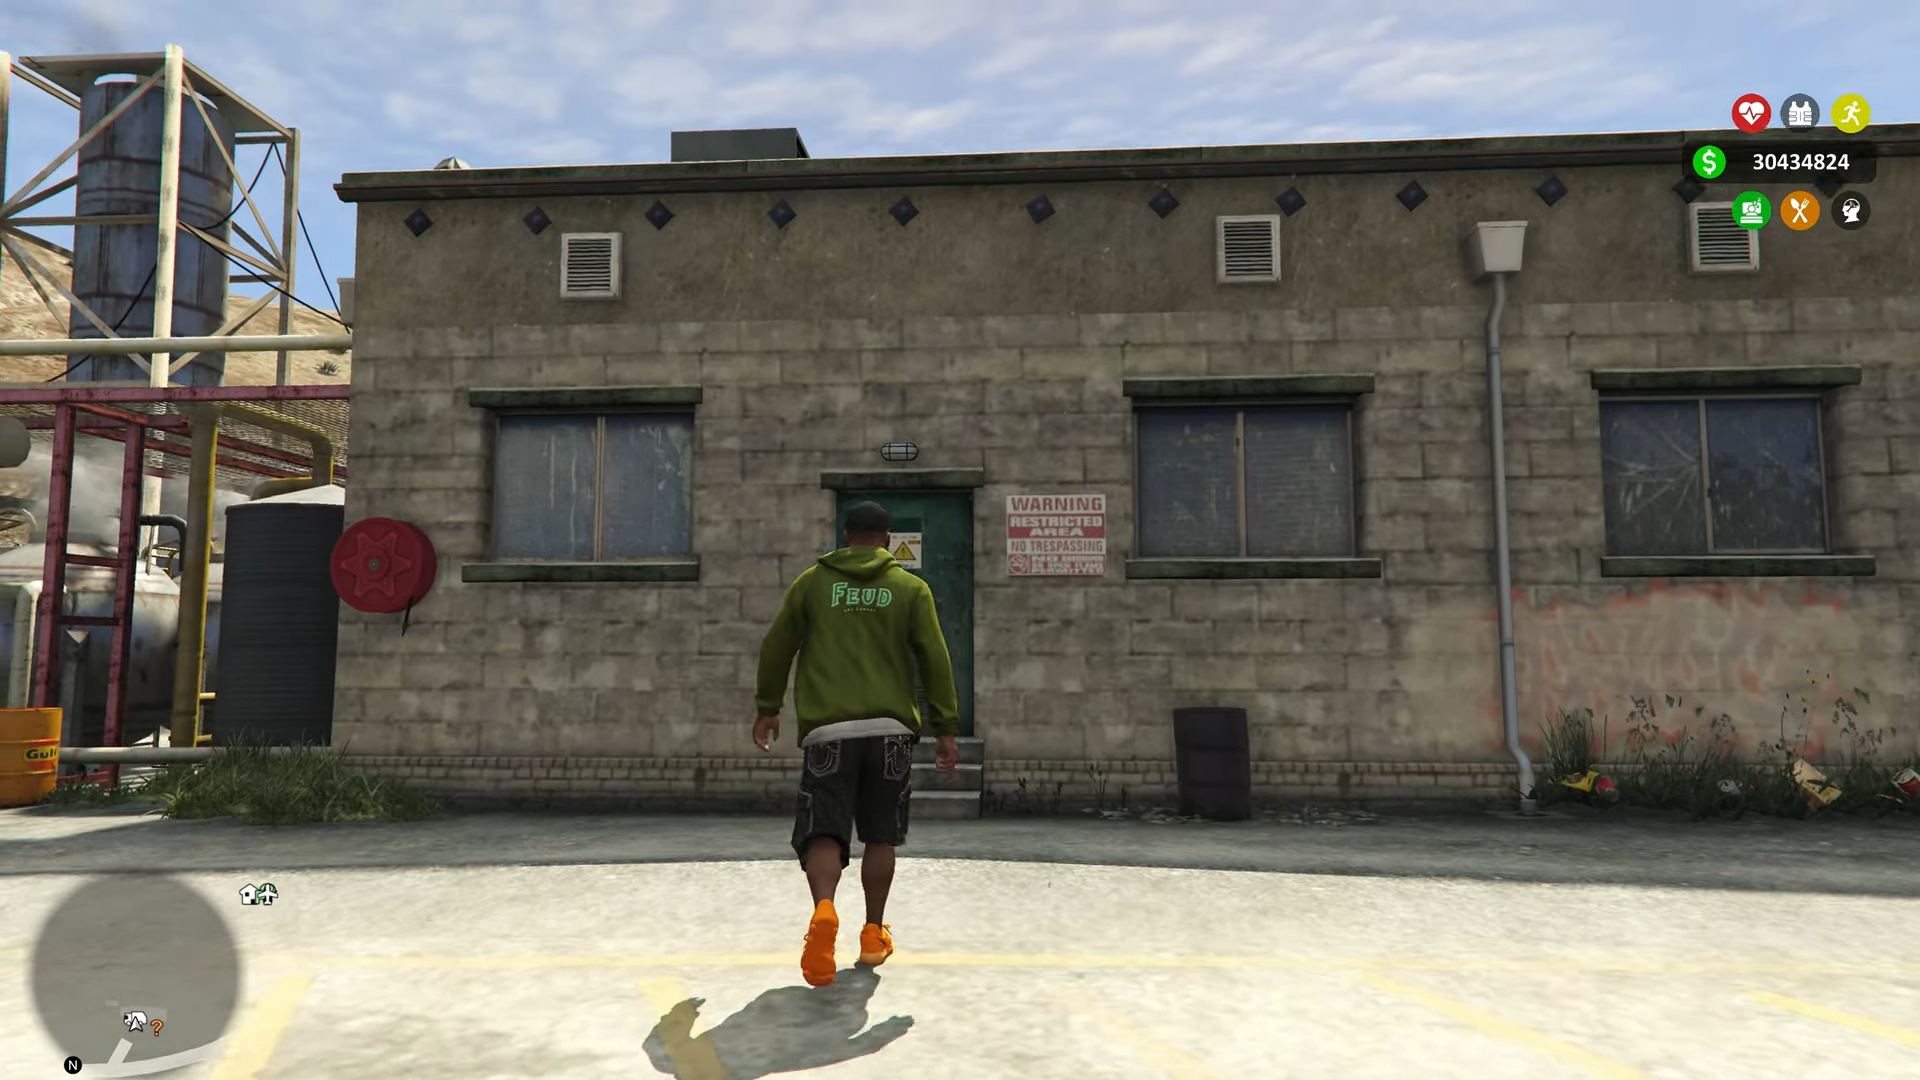
9. Now you need to move to the Mojave desert area on the map. When you come to this location and get close to this building’s door a menu will pop up.
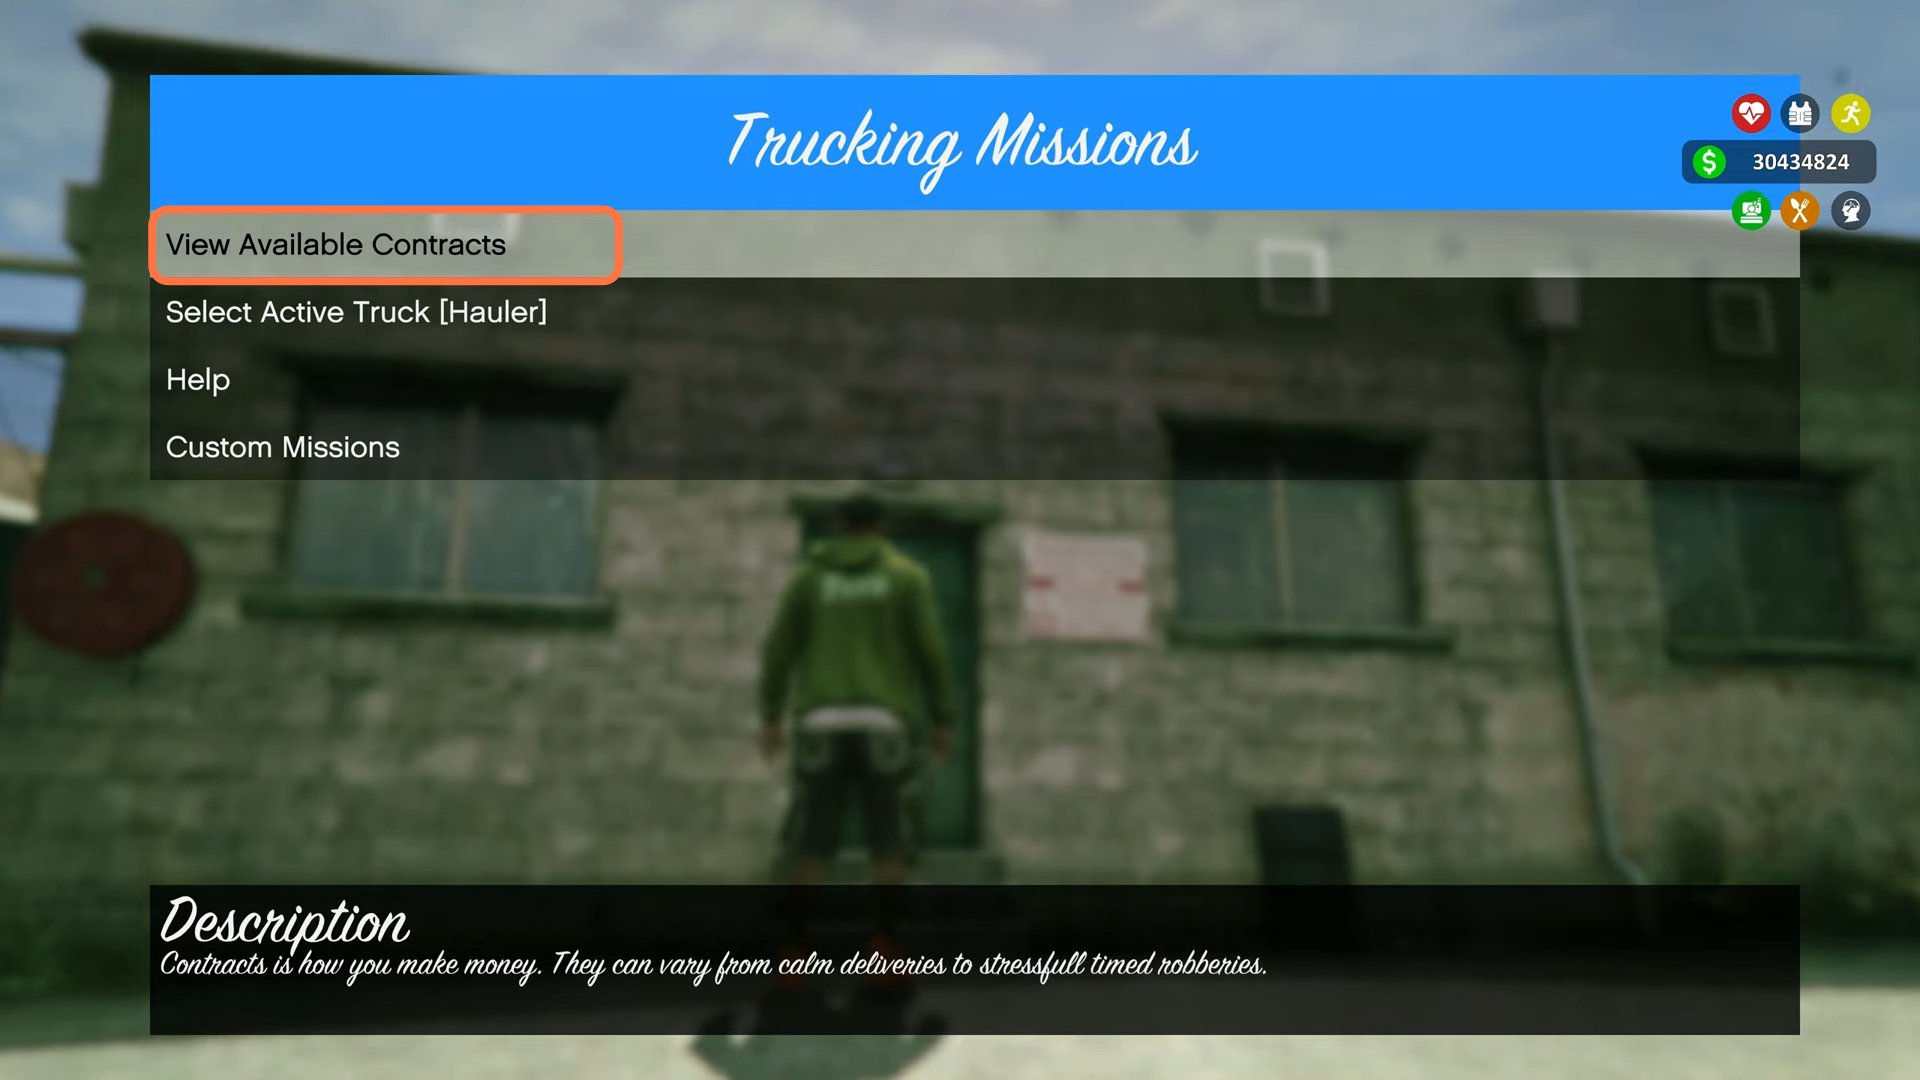
10. This will be a Trucking Mission pop-up. Go ahead and select View Available Contracts
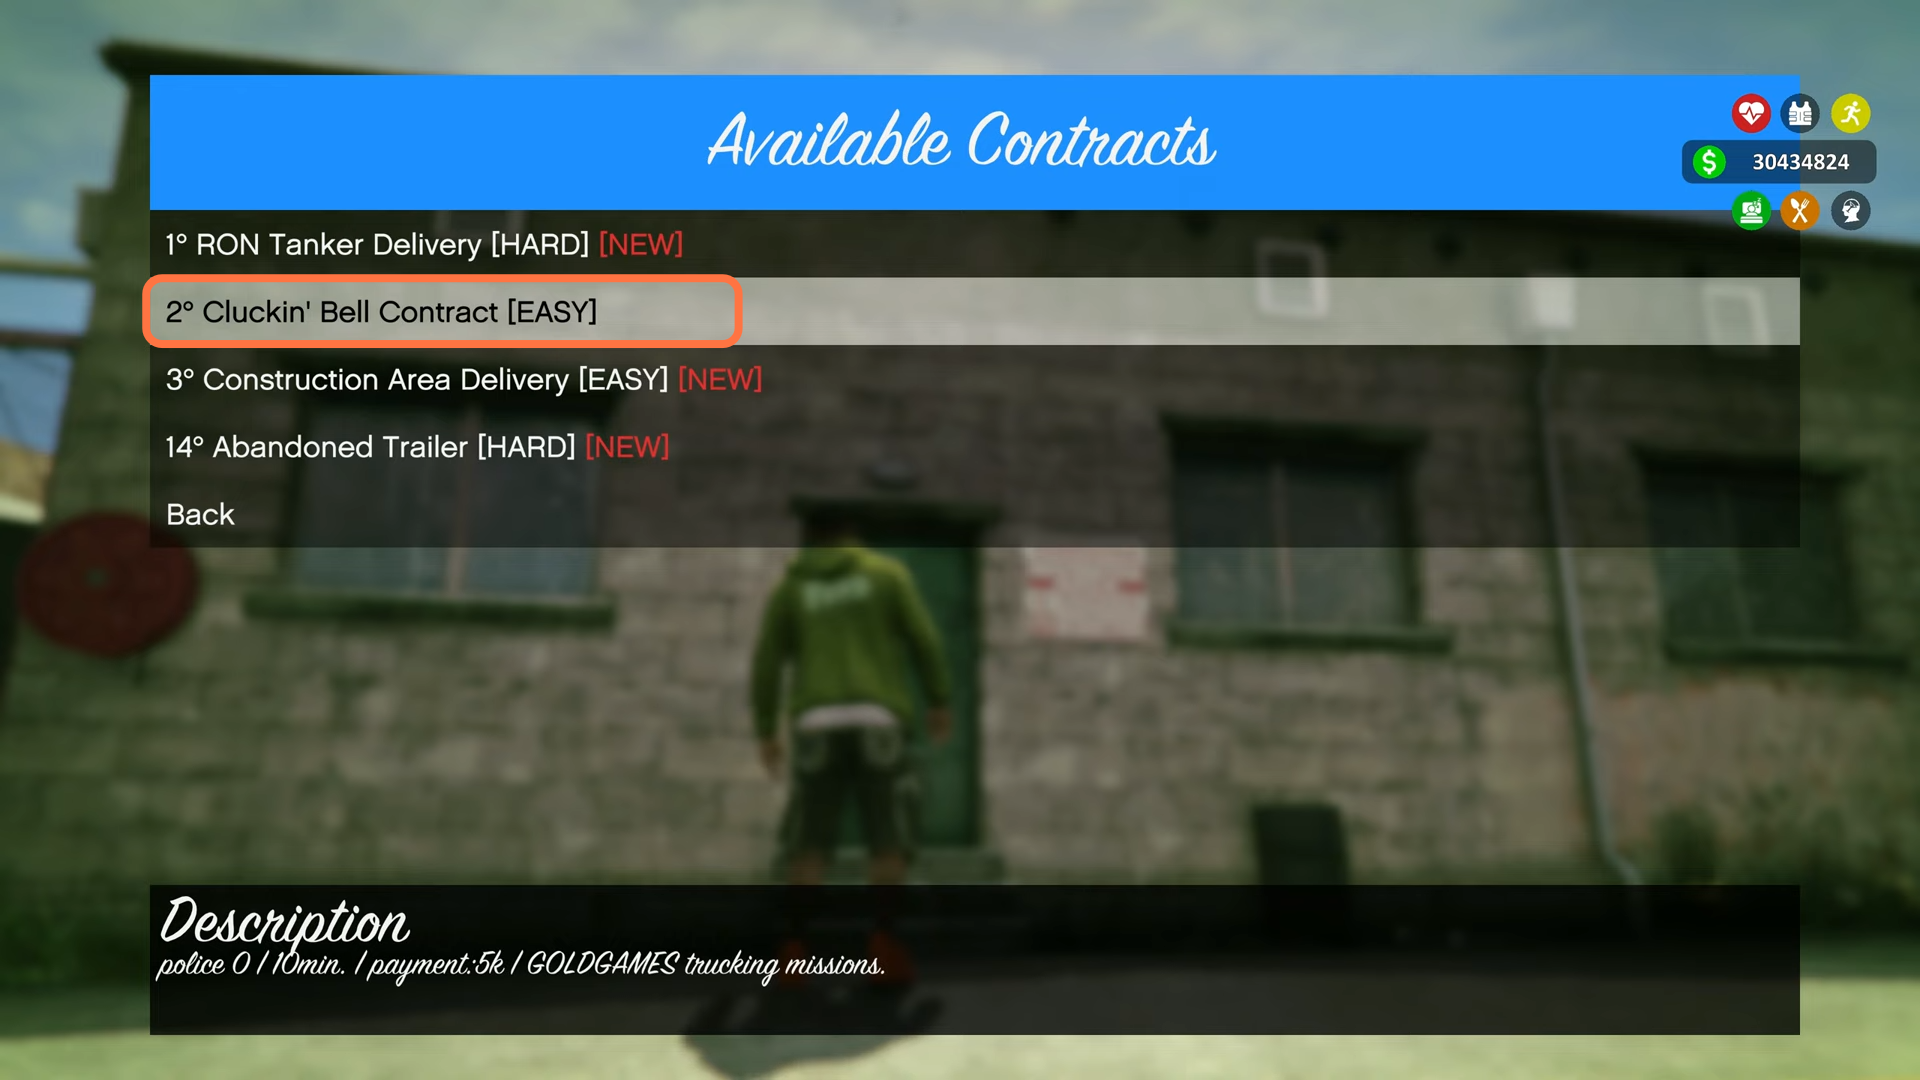
11. You will get to see the available contracts with difficulties. For the moment we are going to select the Cluckin’ Bell Contract [Easy] from the list.
12. If you look at the bottom left corner of the screen just above the minimap you will see instructions on which buttons to press if you are using a keyboard or controller.
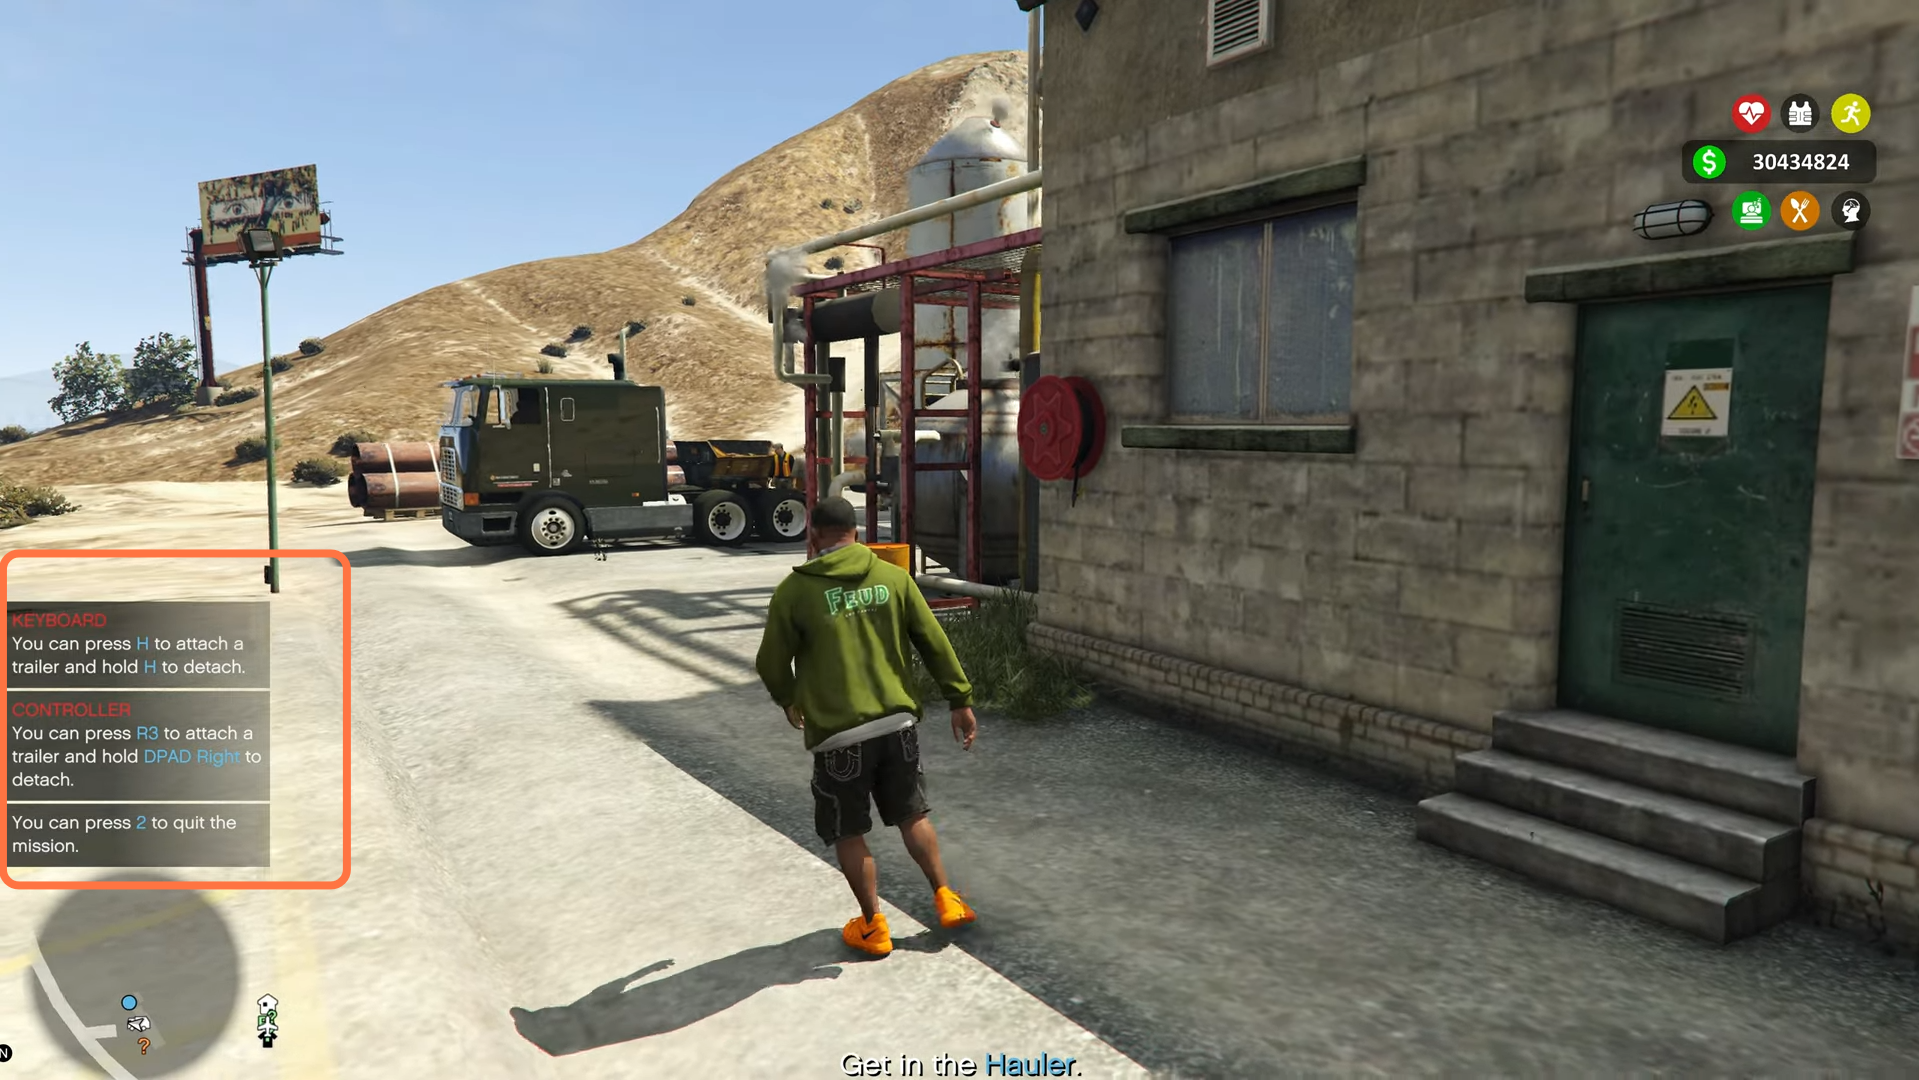
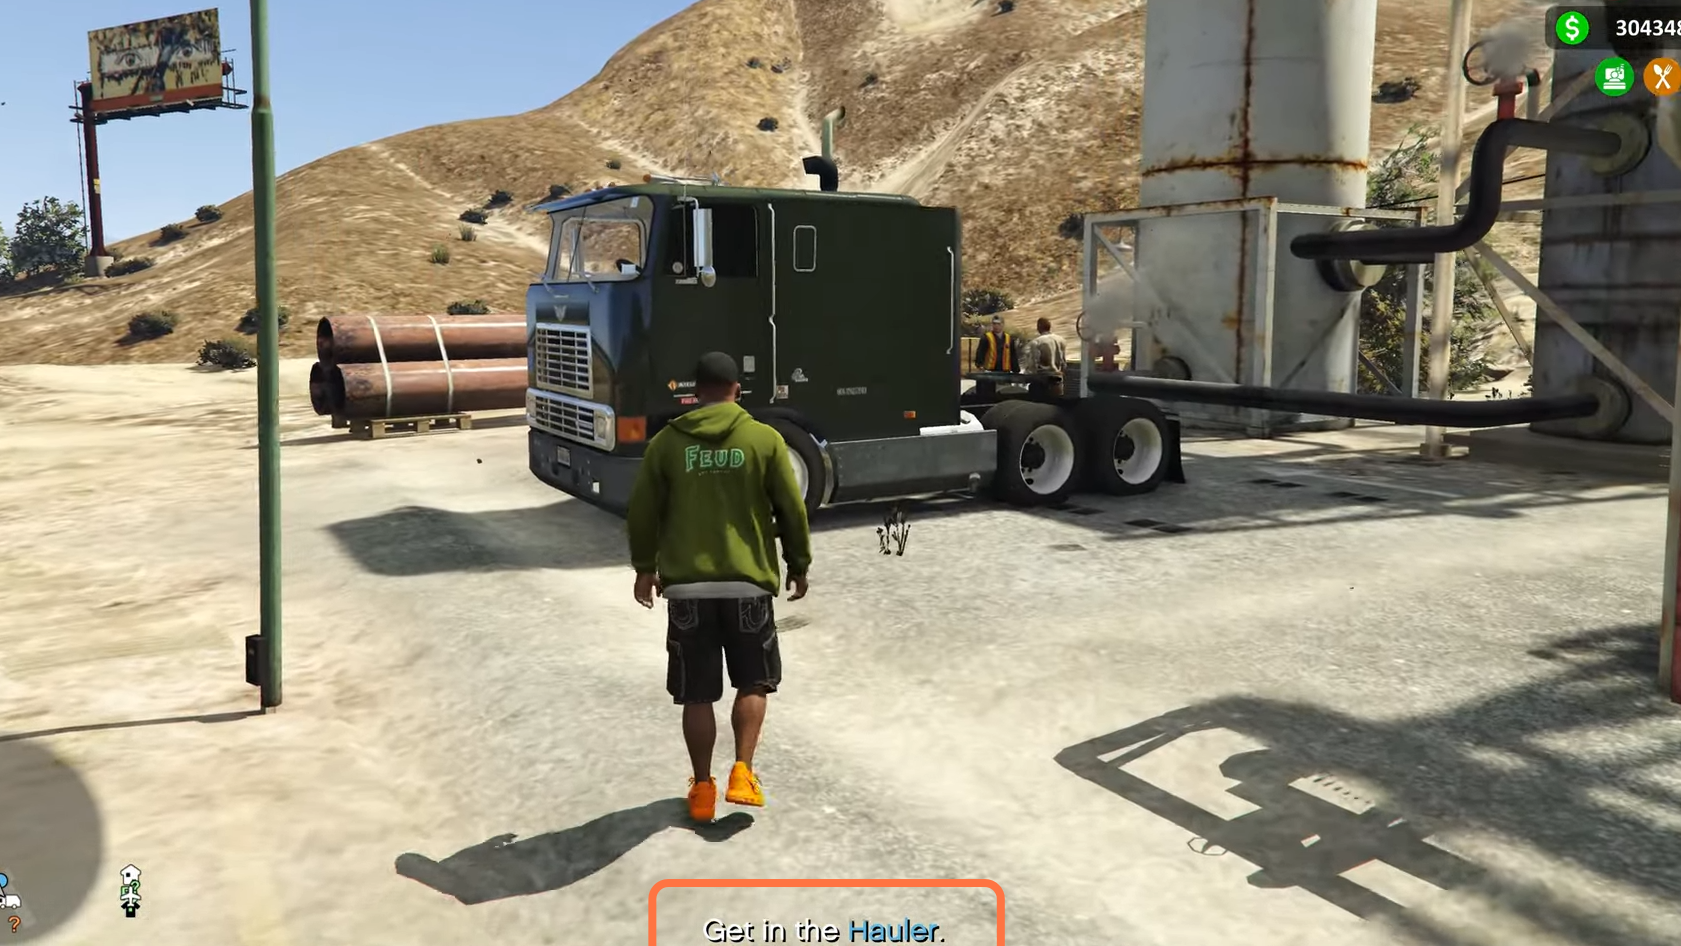
13. As soon as you select the mission you will see a truck that will spawn and the screen will also indicate “Get in the Hauler” at the bottom.
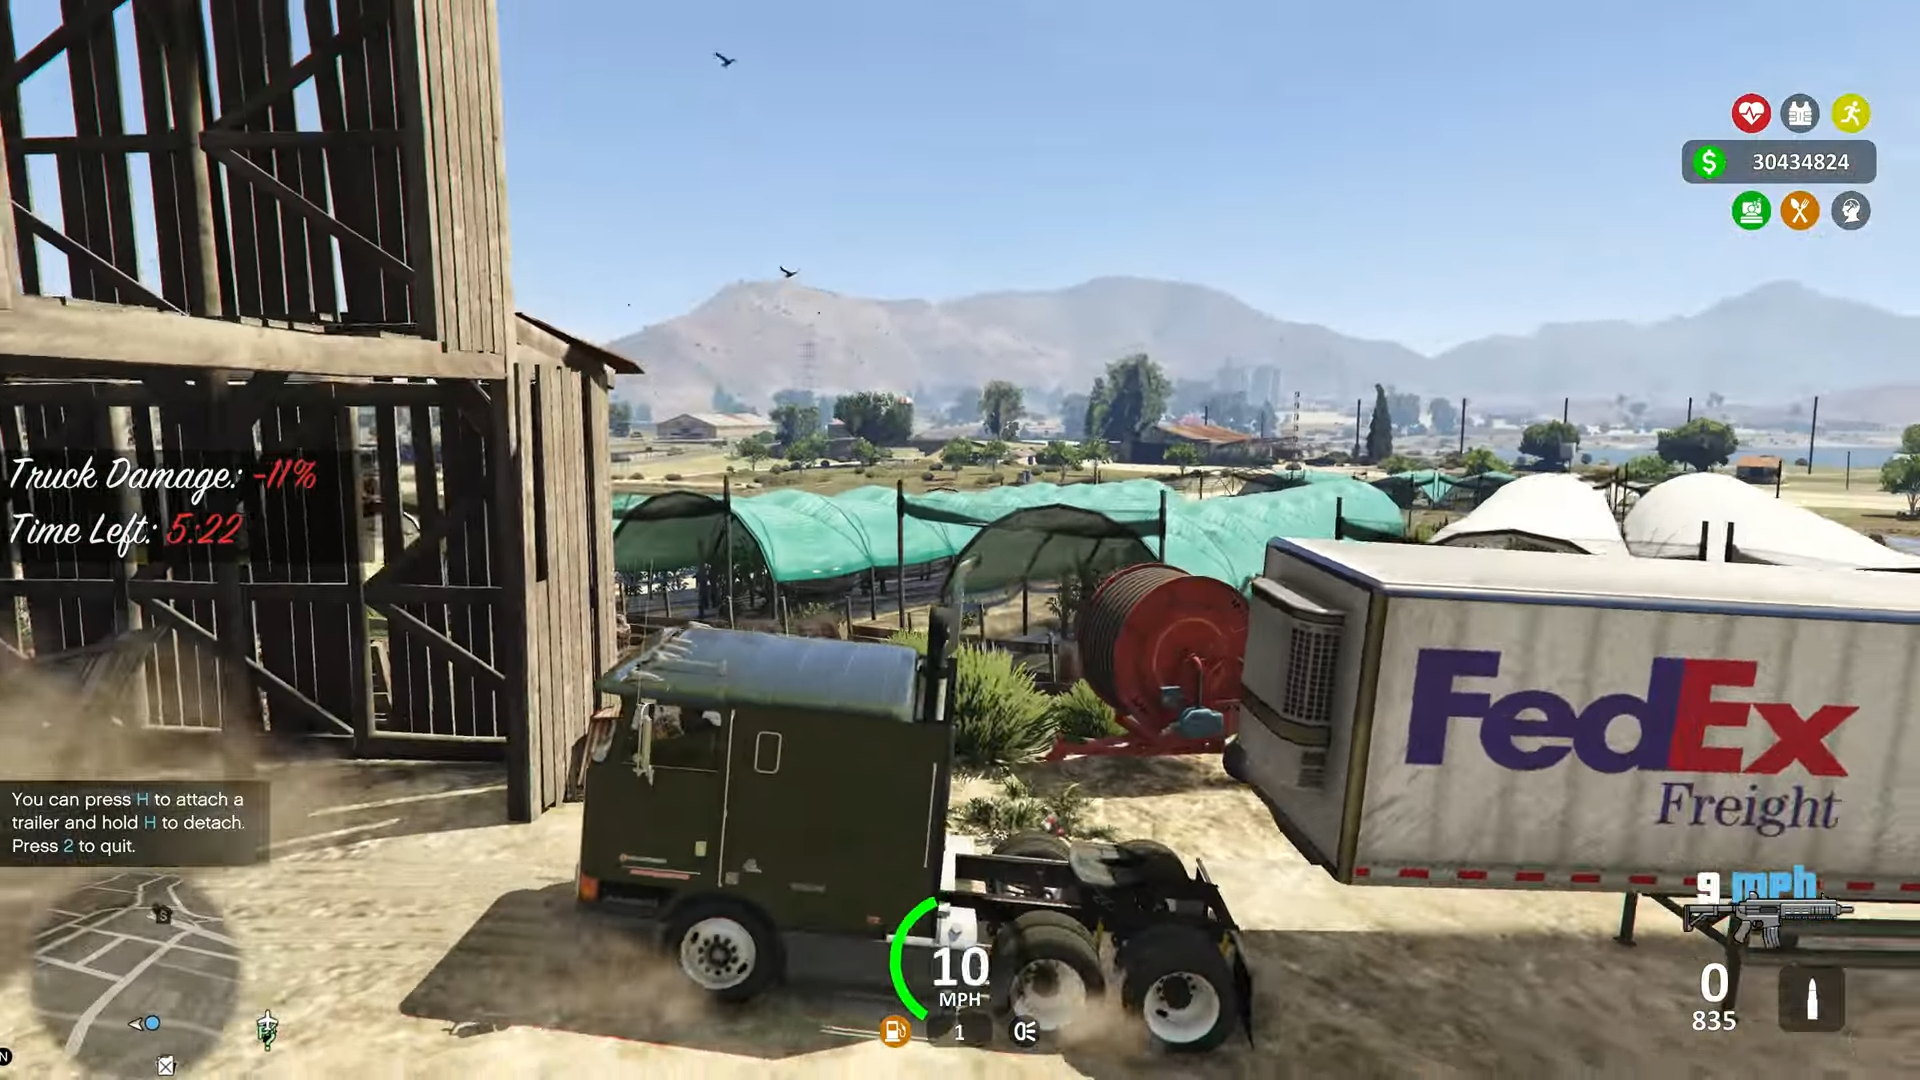
14. Once you get into the truck you will see the Truck Damage and the Time Left on the left side of the screen.

15. We need to head to this spot on the map to retrieve our shipment.
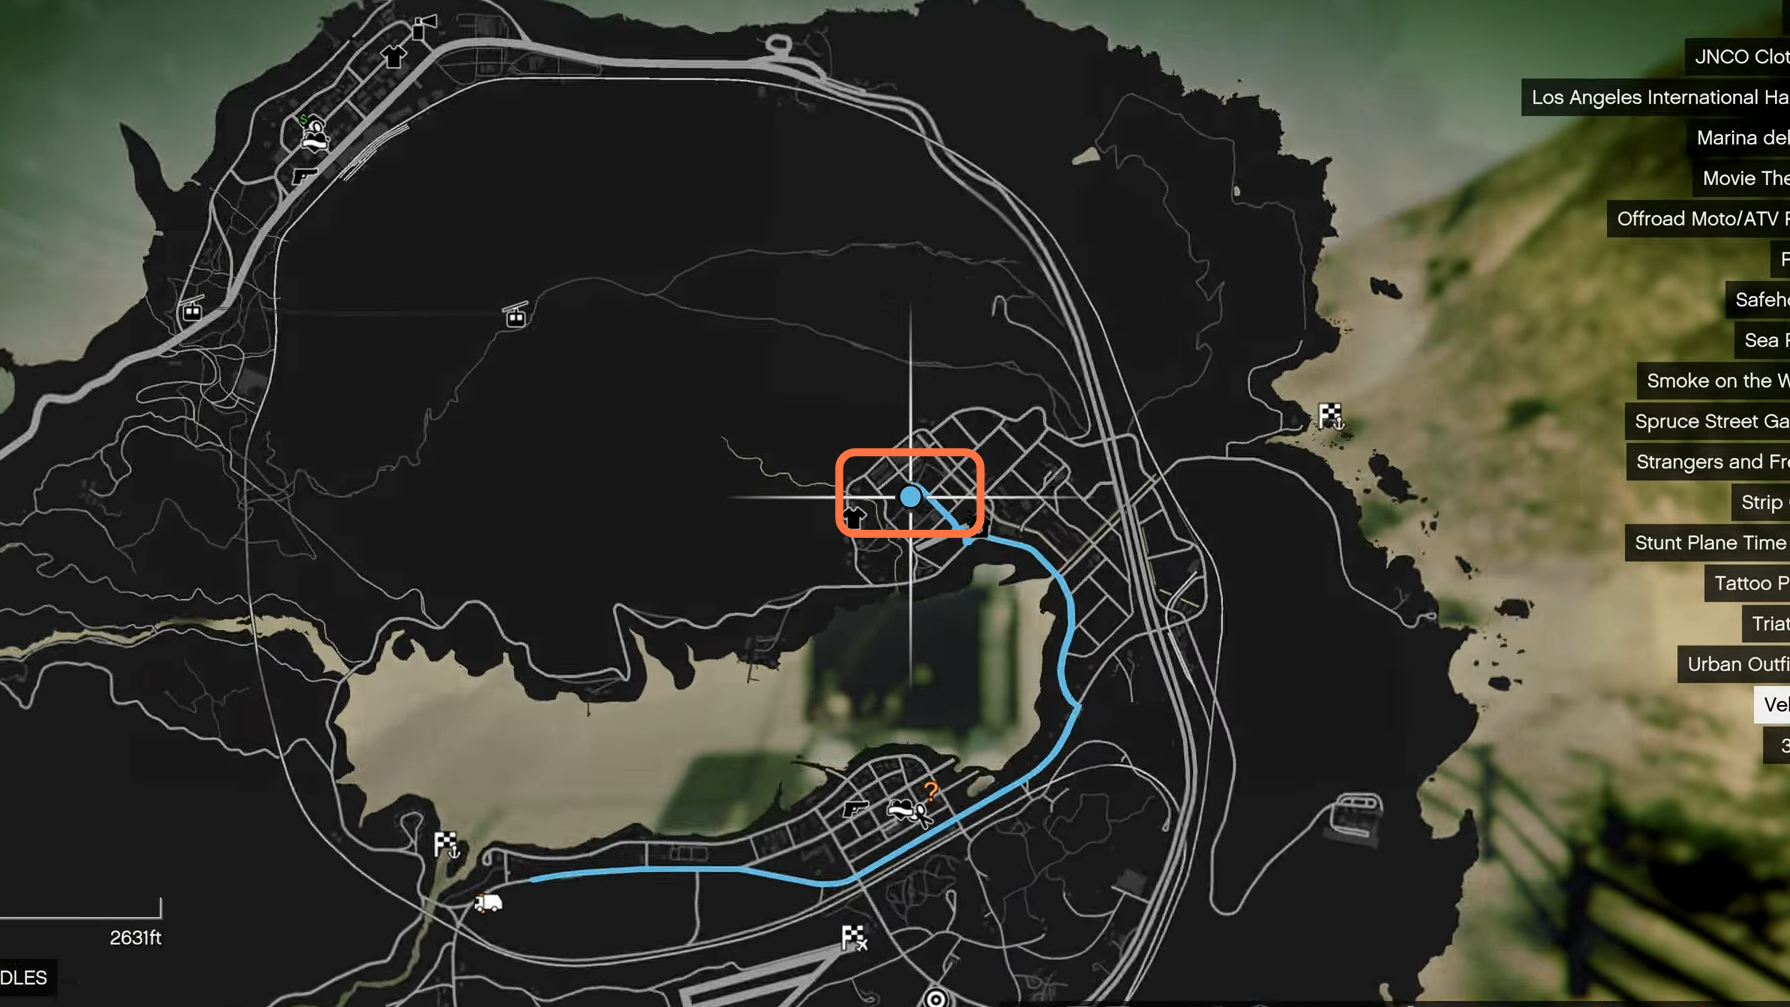
16. Reach there to pick up the cargo within the given time.
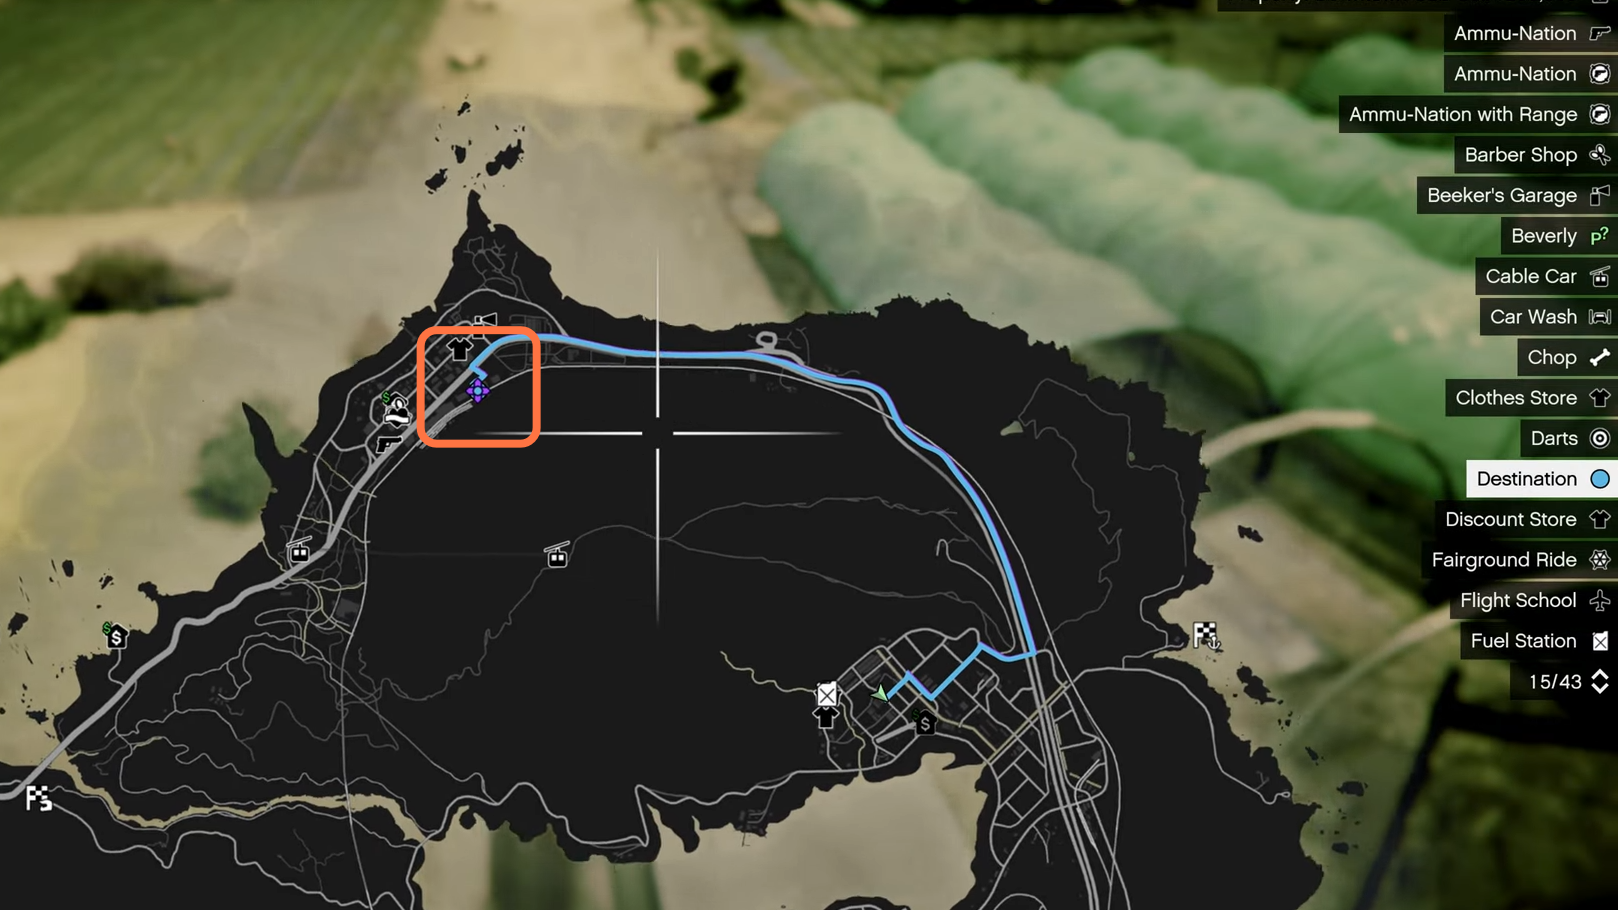
17. Now we need to drop it at this destination location on the map.
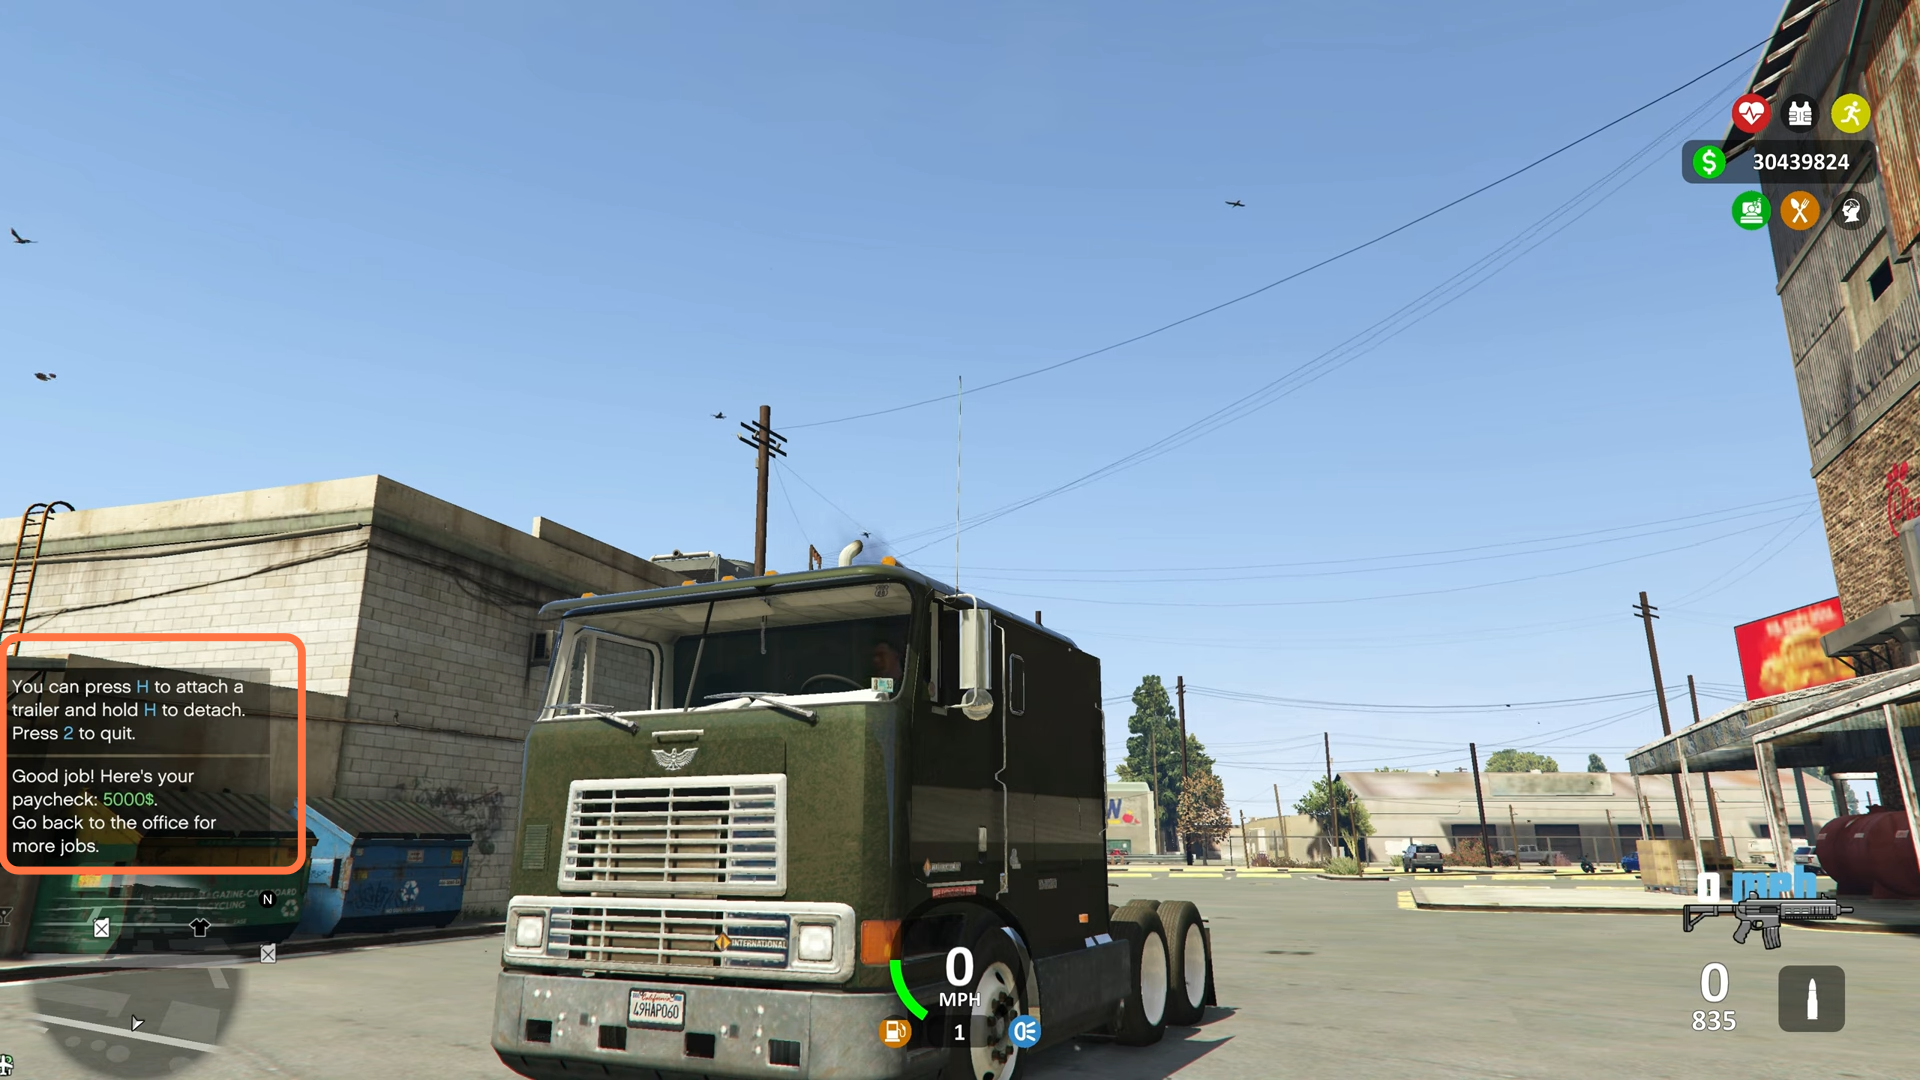
18. After dropping off your cargo at the destination place you will get a notification just above the minimap about your paycheck. Now you can go back to the office for more jobs.