This guide will let you know how to install Xenia Canary for Xbox series S or series X without developer mode. You first need to install Xenia Canary, configure FTP addresses and then set the location of the game and add ISO
Installing Xenia Canary
In this section, we will take you through the steps to download and install Xenia Canary for Xbox series S or series X without developer mode.
- First, you need to open the browser on your computer to download Xenia Canary.
- Once you reach the web page, click the Get button to install Xenia Canary from Microsoft Store.
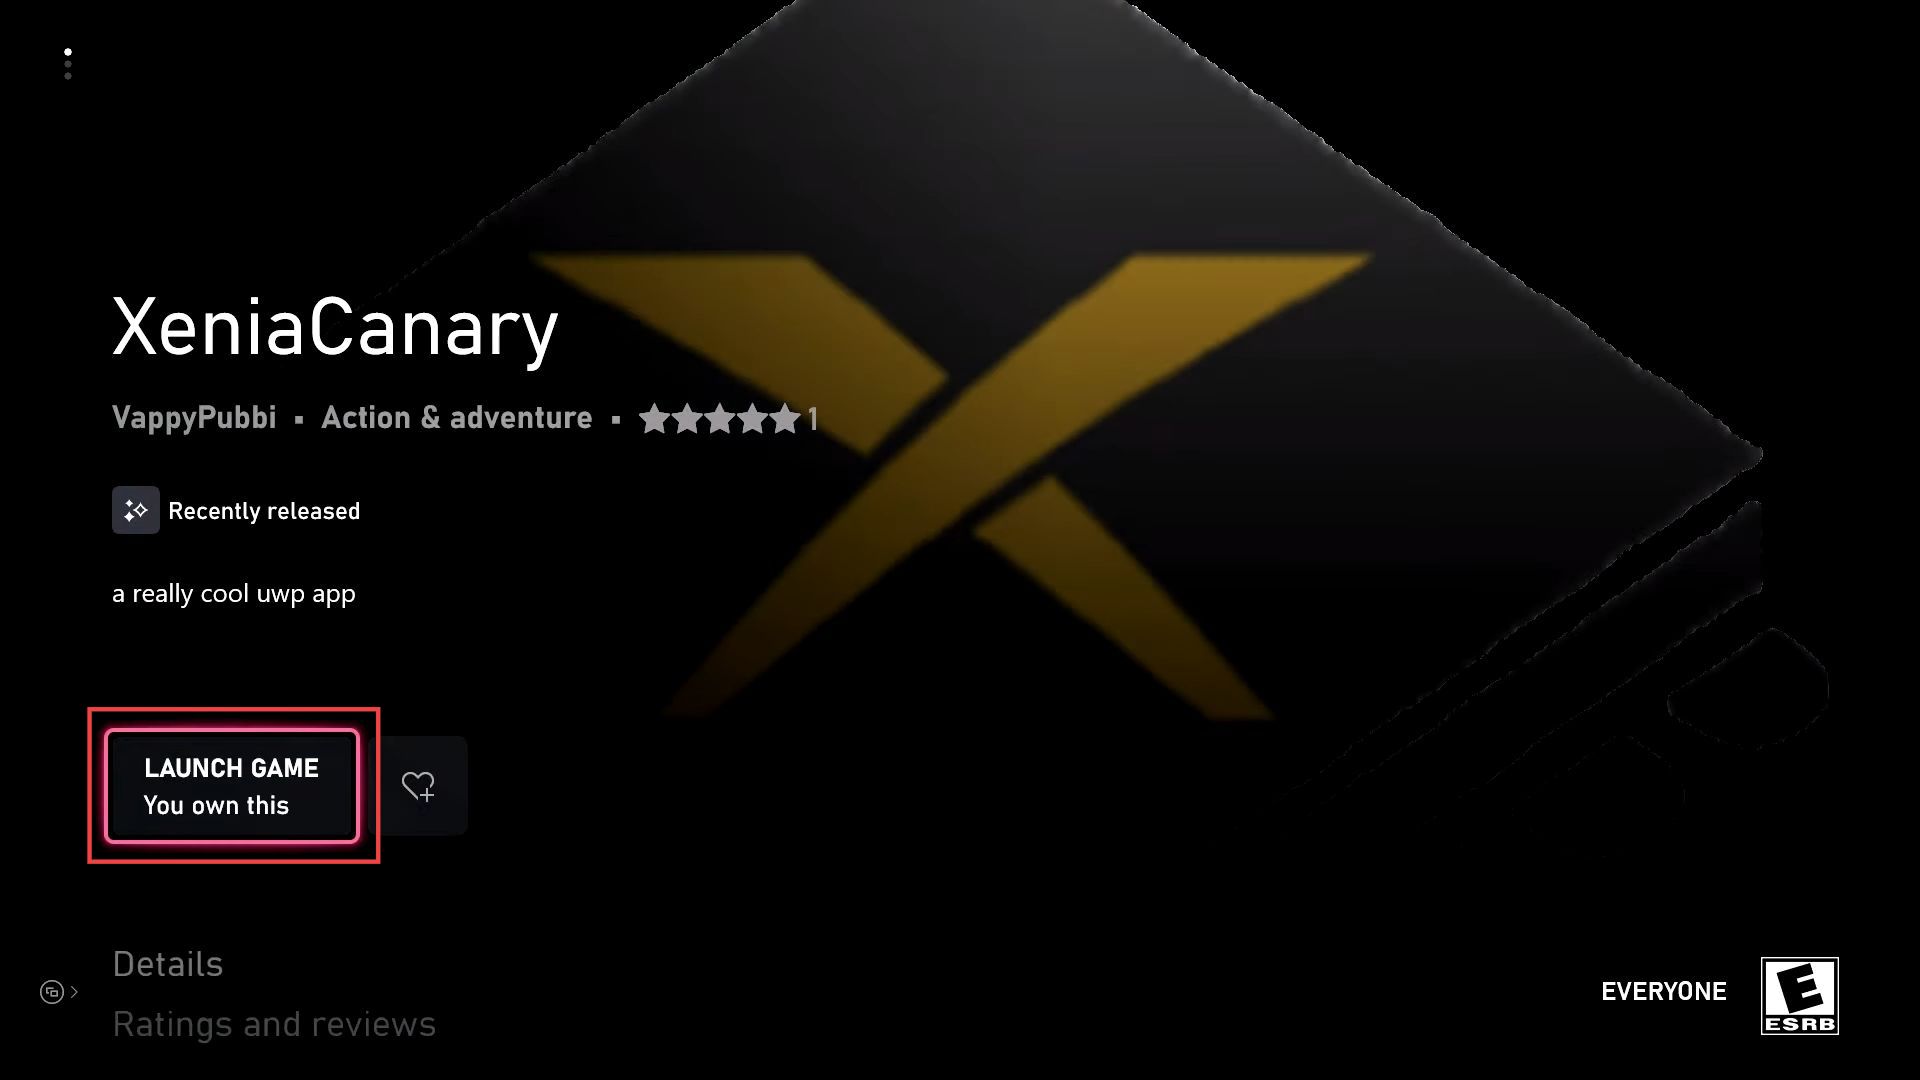
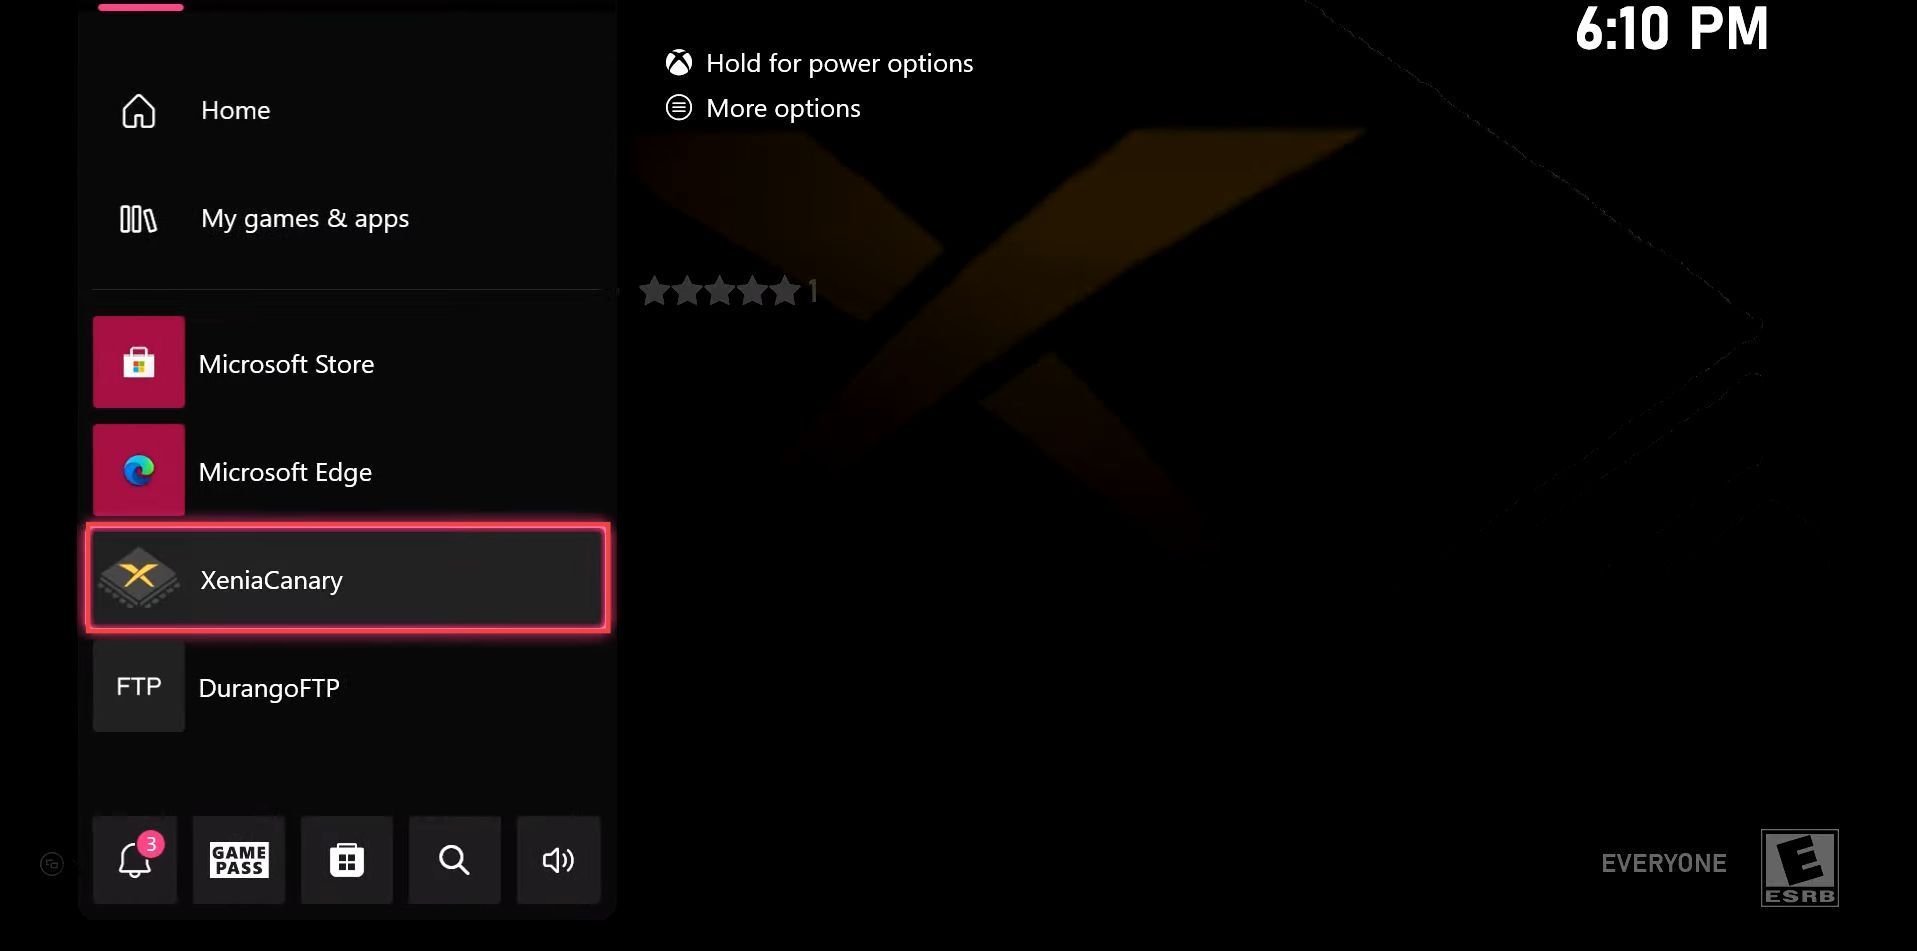
- Once the game is installed, open it from the left side panel.
- If the application gets crashed after a few seconds then add the configuration files for Xenia Canary.
Configuring FTP Addresses
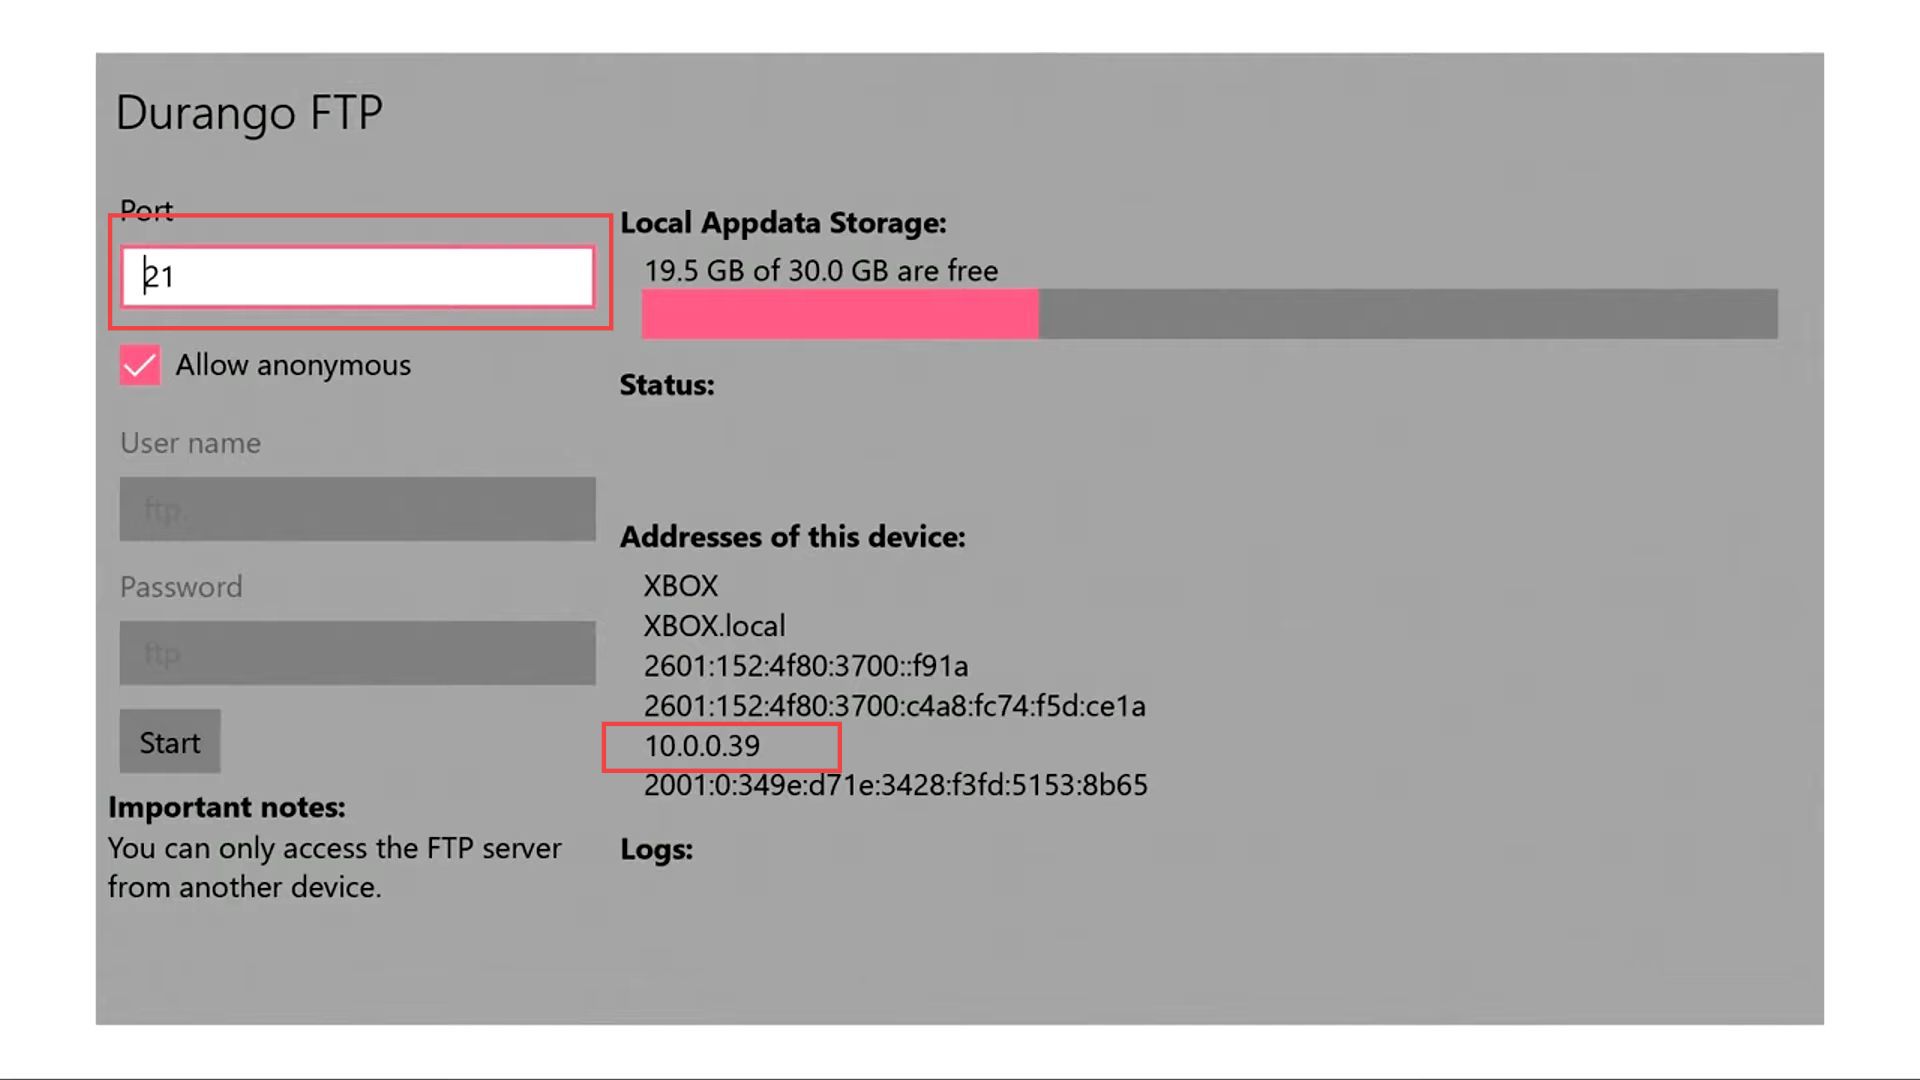
This section describes how to configure the FTP Addresses of your device. First, you have to open the FTP application from your Xbox console, copy the address shown in the menu and place it in the specific section to configure it.
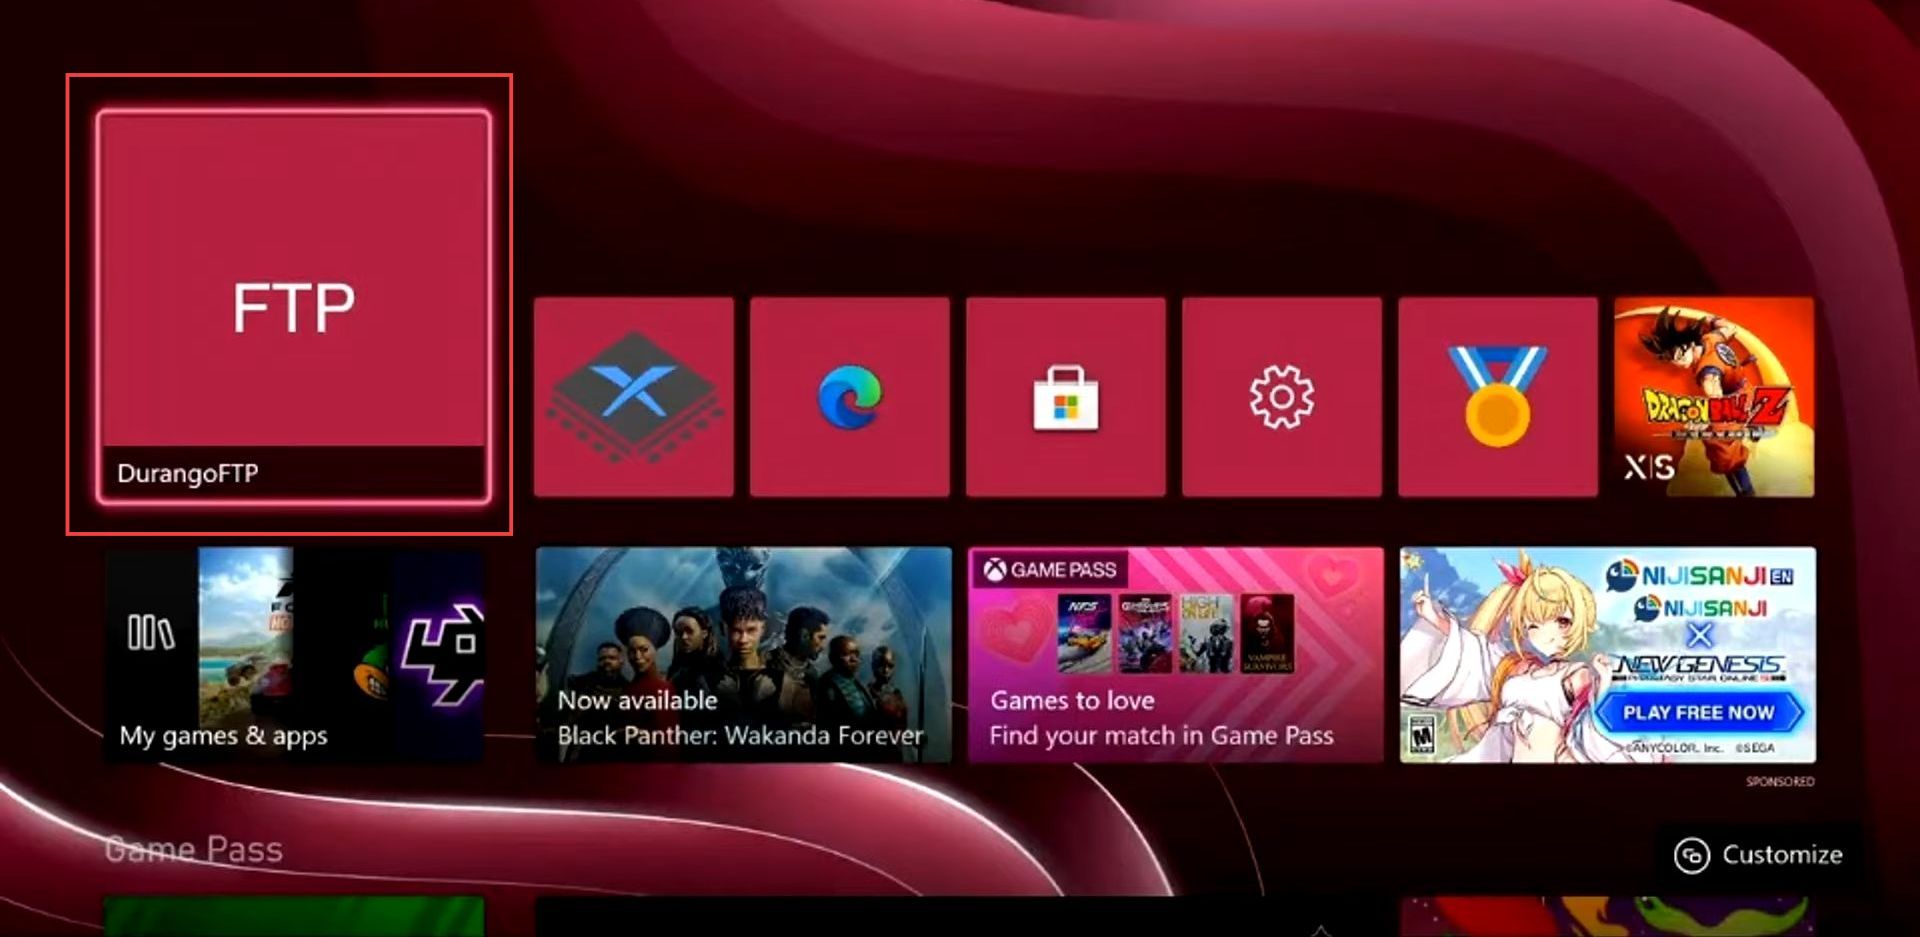
- Go to your Xbox console and open the FTP application on your Xbox
- Upon reaching this window, look for the Addresses section within the FTP application and find the number displayed under the Addresses of this device.
- You have to copy this number from the section of Addresses of this device.
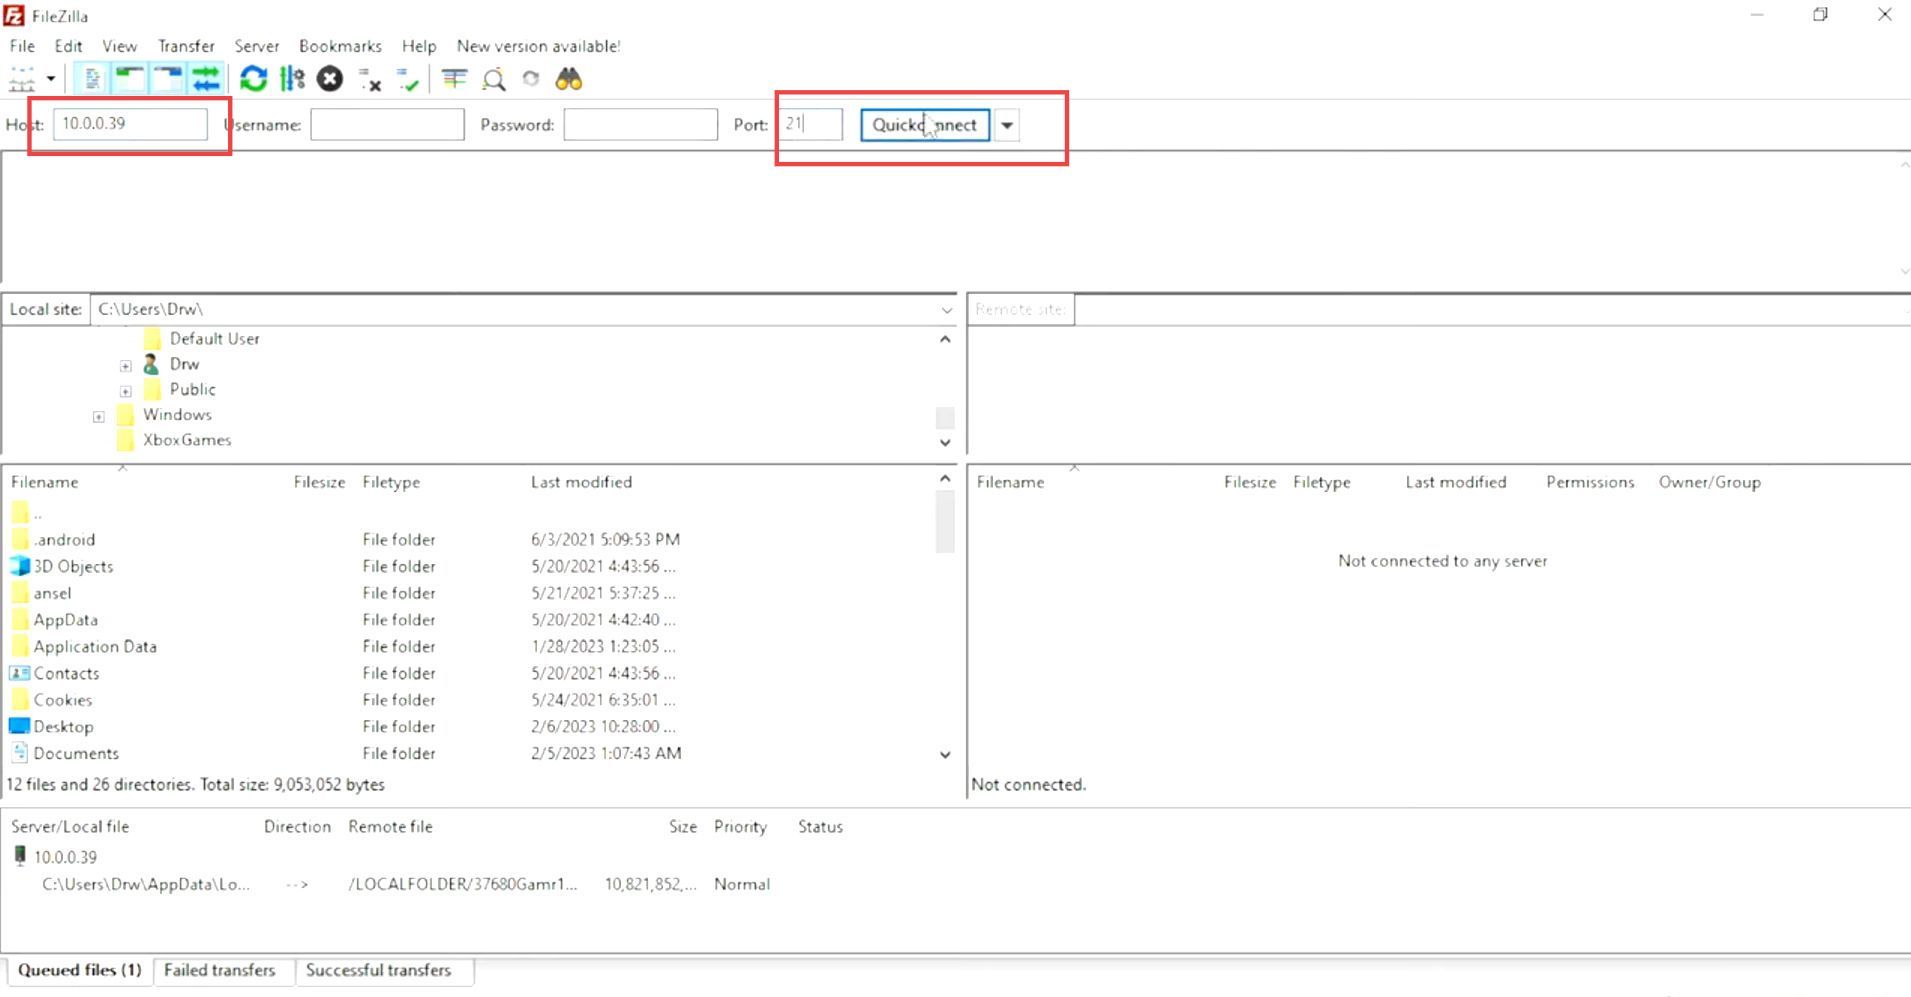
- Locate the FileZilla application on your computer and launch it.
- Once FileZilla is opened, input the address that you previously copied from the Xbox console into the Host text box and enter the port number associated with your Durango FTP.
- After entering the address and port, hit the Quick Connect button within the FileZilla interface. If a window prompt appears asking for confirmation, click the OK button.
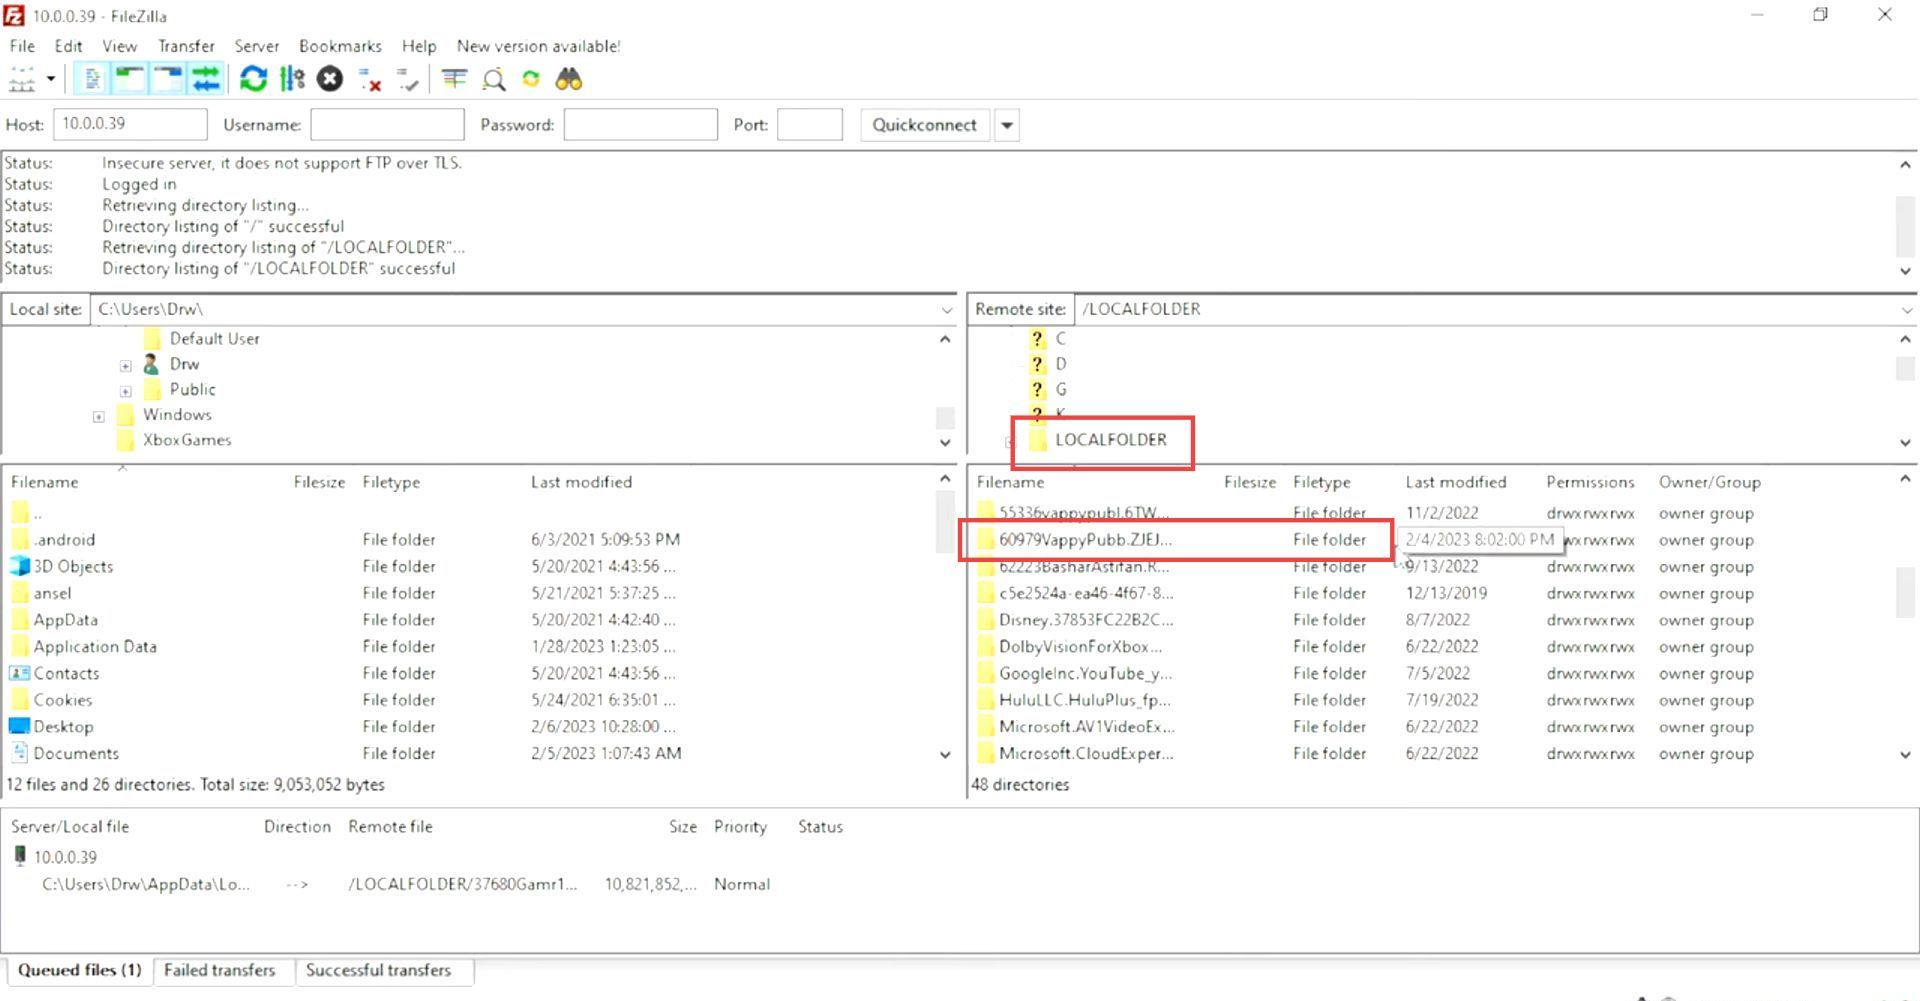
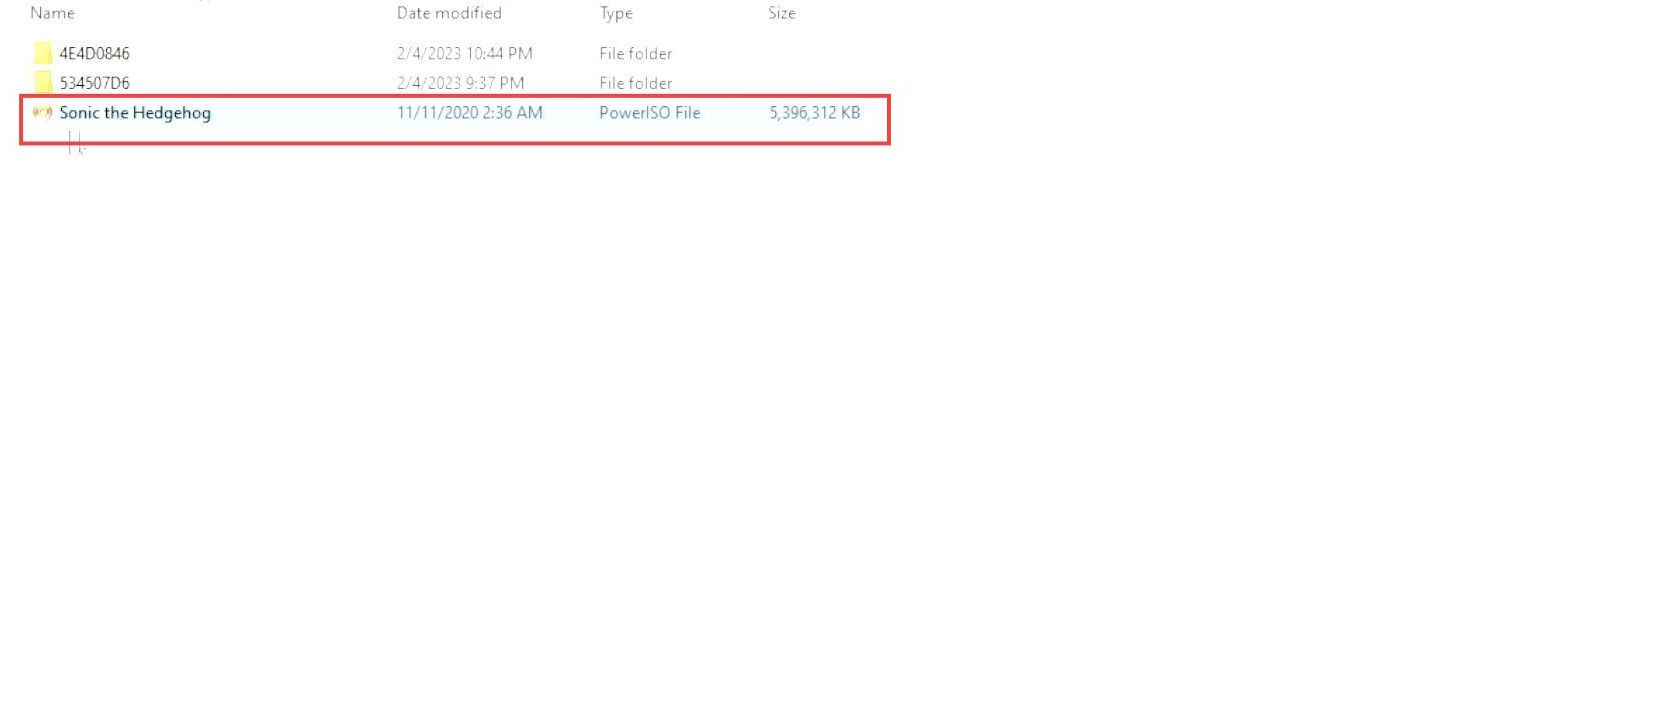
- Navigate to the local folder and look for the Xenia Canary folder within the local folder.
You can find it conveniently using the last modified tab which shows the recently downloaded content.
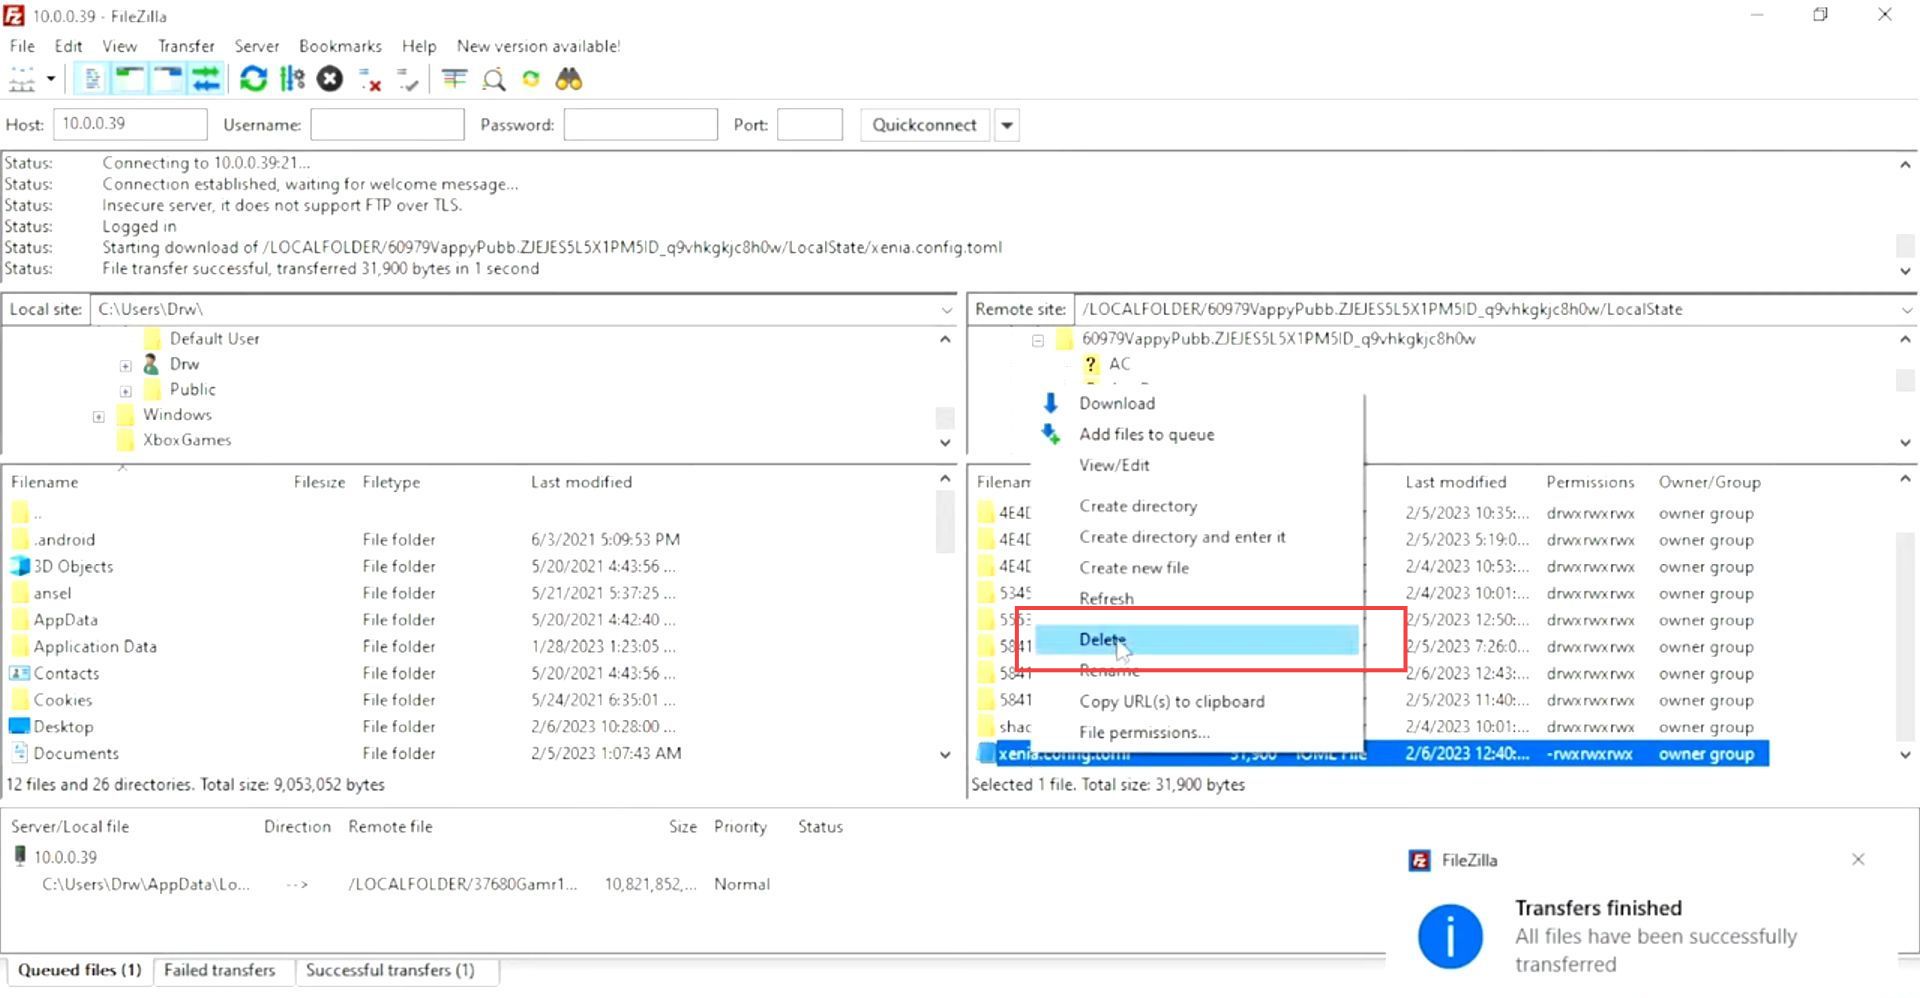
- Open the Xenia folder to view its contents. Inside the Xenia folder, go to the Local State folder.
At the bottom of the folder, you will find the Xenia config file.
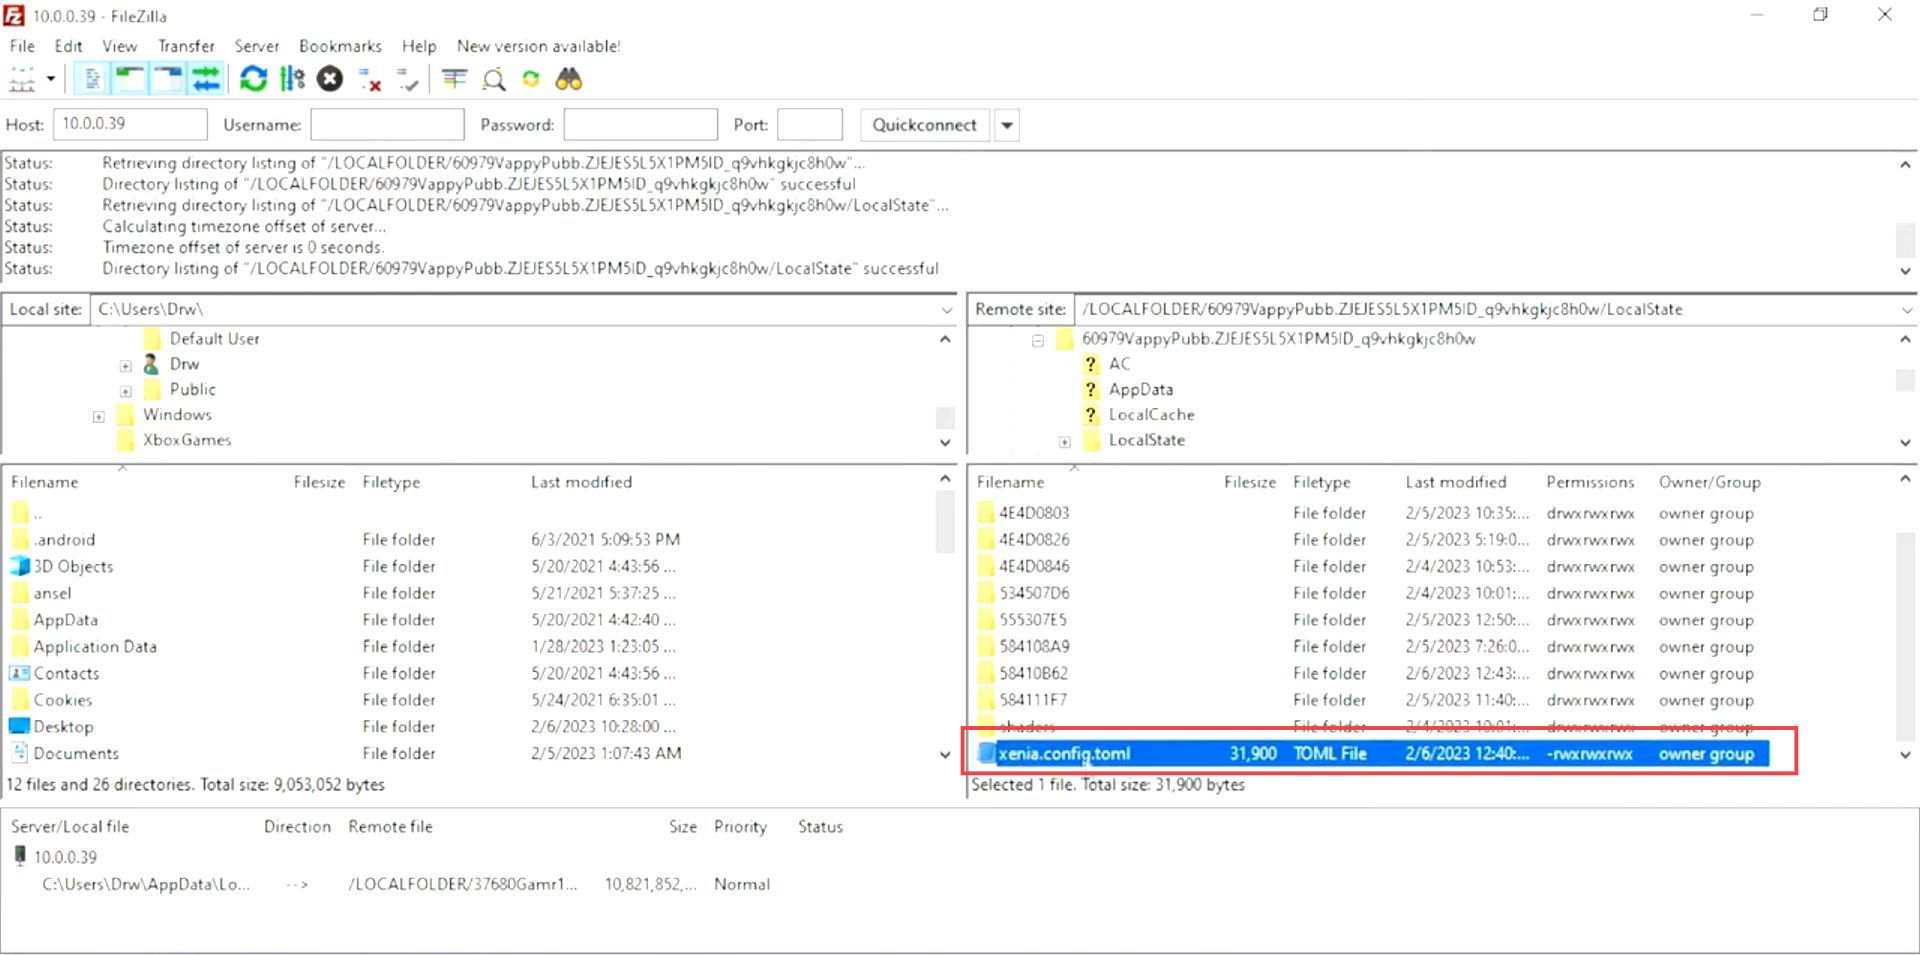
- After that, right-click on the Xenia config file and select the delete option from the extended menu of FileZilla.
- Click the Yes button from the popup window.
Setting games location and adding ISO
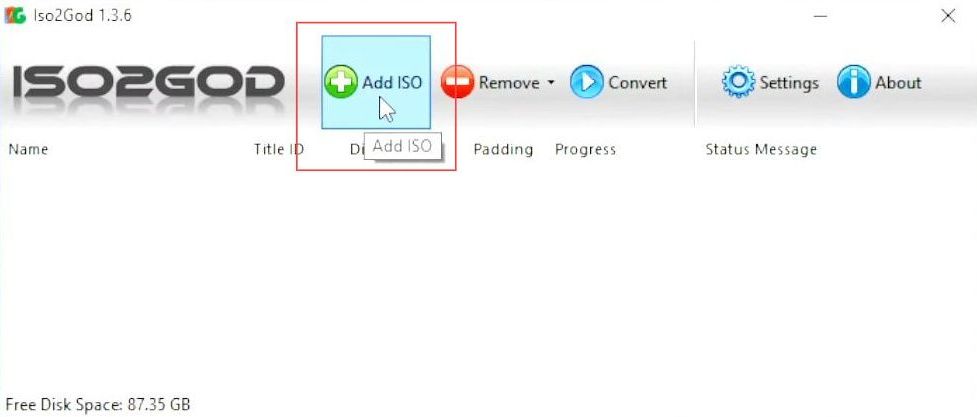
This section explains how to set the game location and add it to ISO. First, you have to open the ISO2GOD application from your computer. Set the location of the game at suitable places in the USB drive. After that, convert the game into ISO and connect the USB to the Xbox to play it.
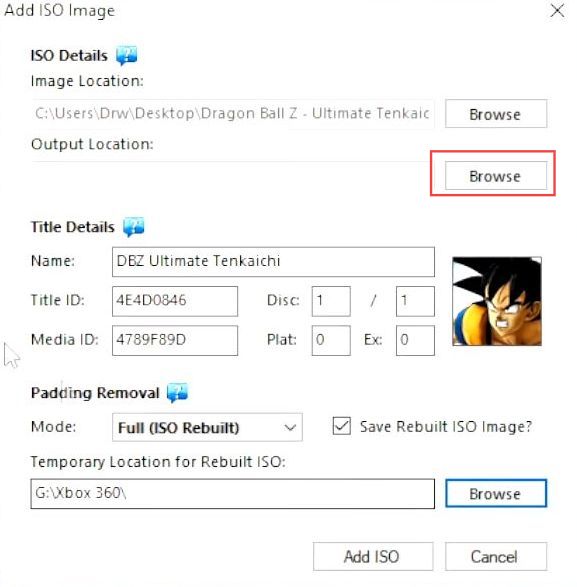
- Now open up the “ISO2GOD” folder on the desktop and click the Add ISO tab from the quick access toolbar.
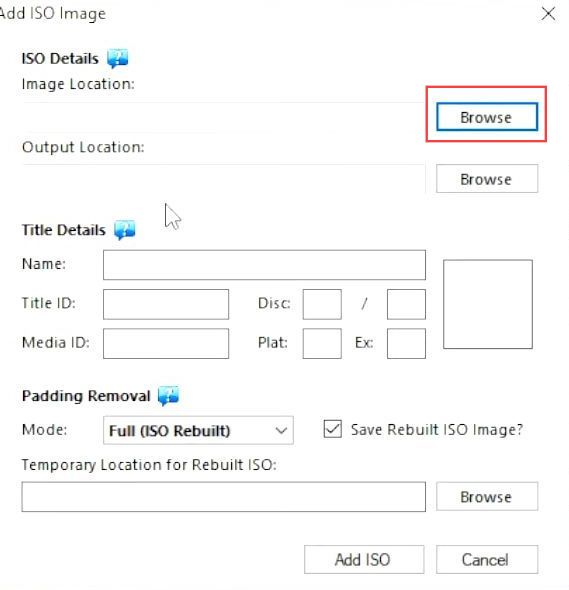
- Click the browse button from the section of image location.
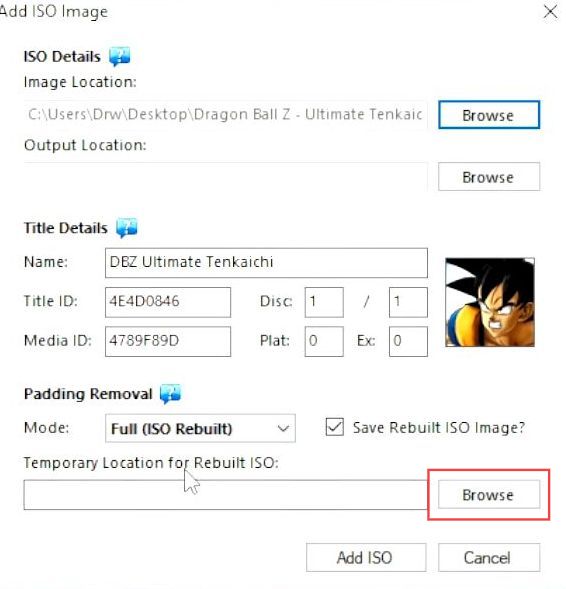
- Upon reaching this window, click the ISO file that you have recently downloaded.
- Click the Open button from the menu.

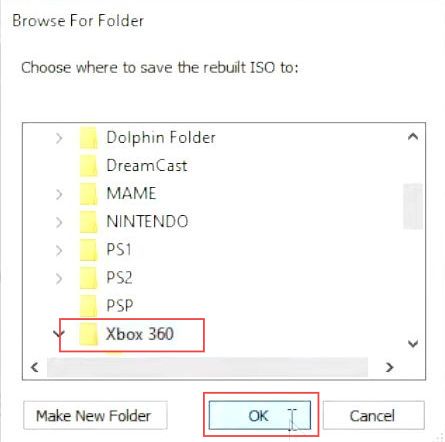
- After selecting the game, click the browse button from the temporary location for Rebuilt ISO section.
- Now you have to put this file in the USB drive and your Xbox 360 folder.
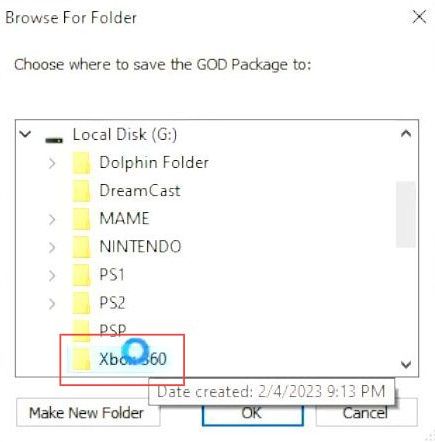
- For the output location, click the browse button from the menu.
- Now put this file in the USB drive and your Xbox 360 folder.
- Click the OK button from this window.
- Once you have set all the locations, click the Add ISO button from the menu.
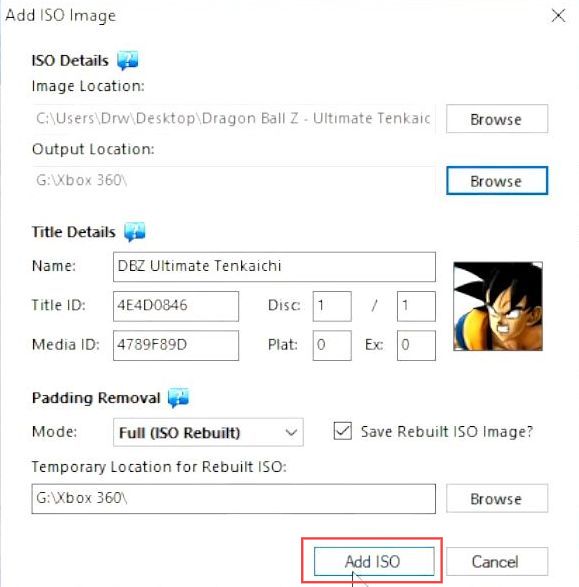
Upon reaching this window, you will have added ISO in the ISO2GOD.
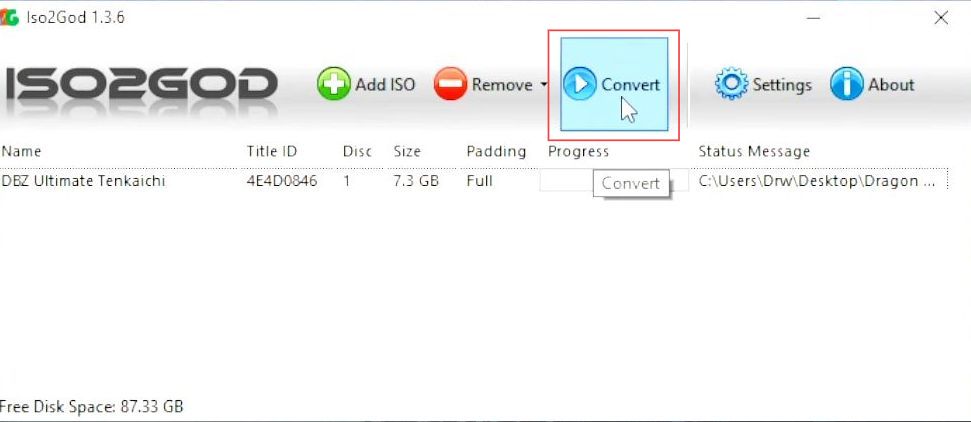
- Now click the Convert tab from the quick access toolbar and wait for a few minutes to complete the conversion process.
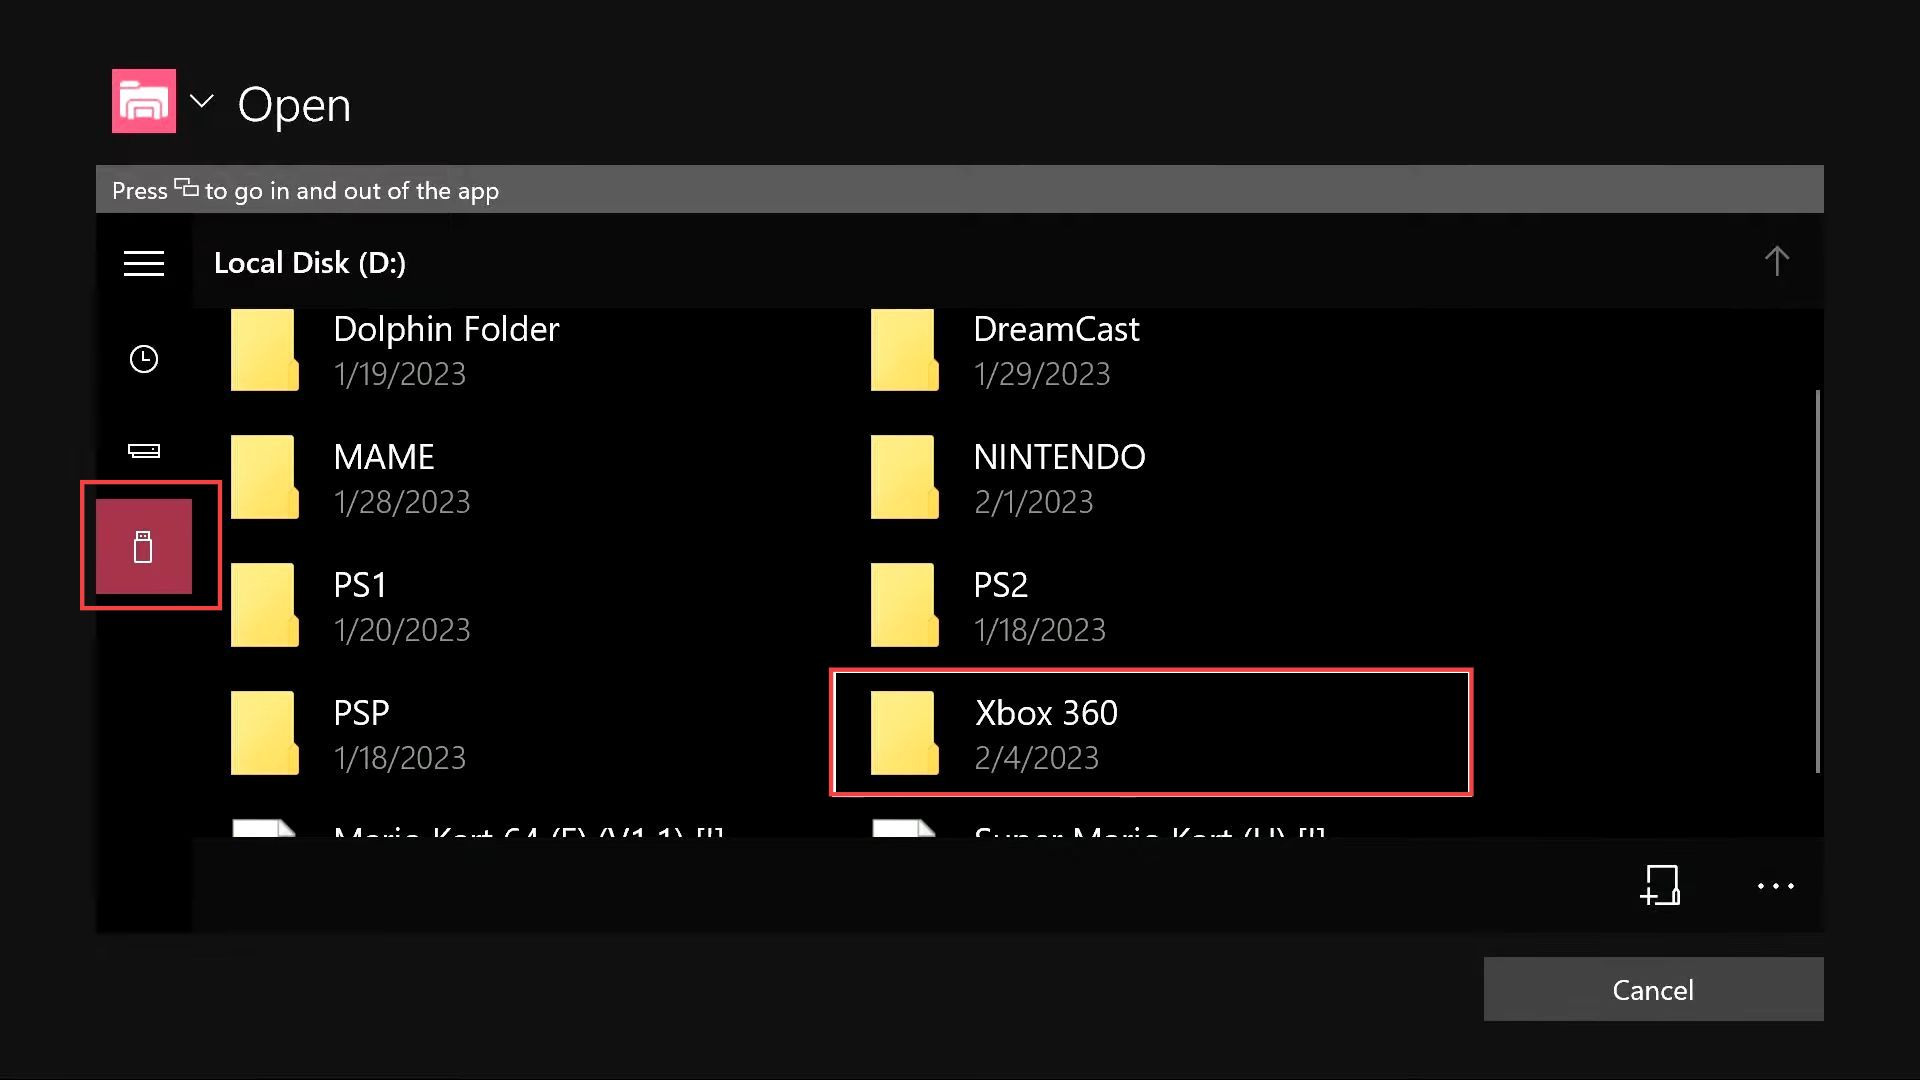
- Go to the USB folder where you have your Xbox 360 games.
- If it pulls up the game’s ISO then you need to delete it.
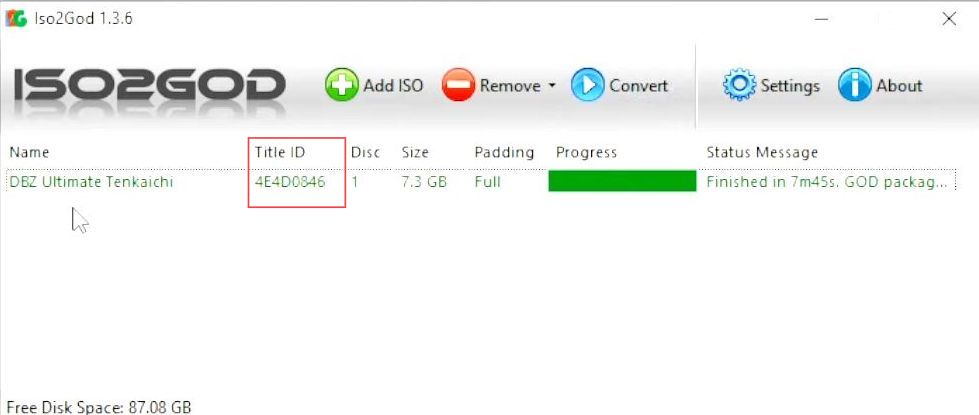
Now you can check your title ID from the ISO2GOD menu.
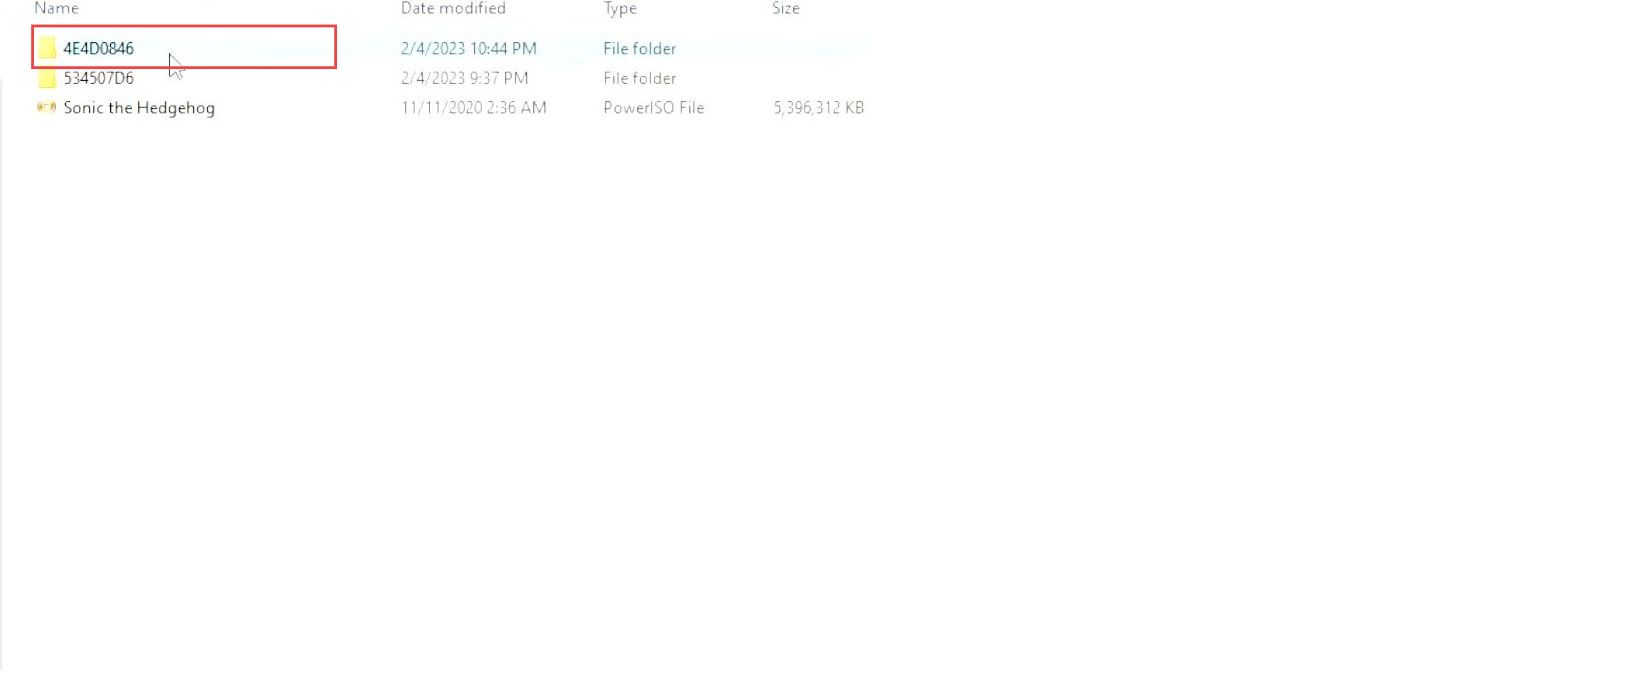
- Right-click the folder with the same ID from your USB.
- Select the rename option from the extended listings.
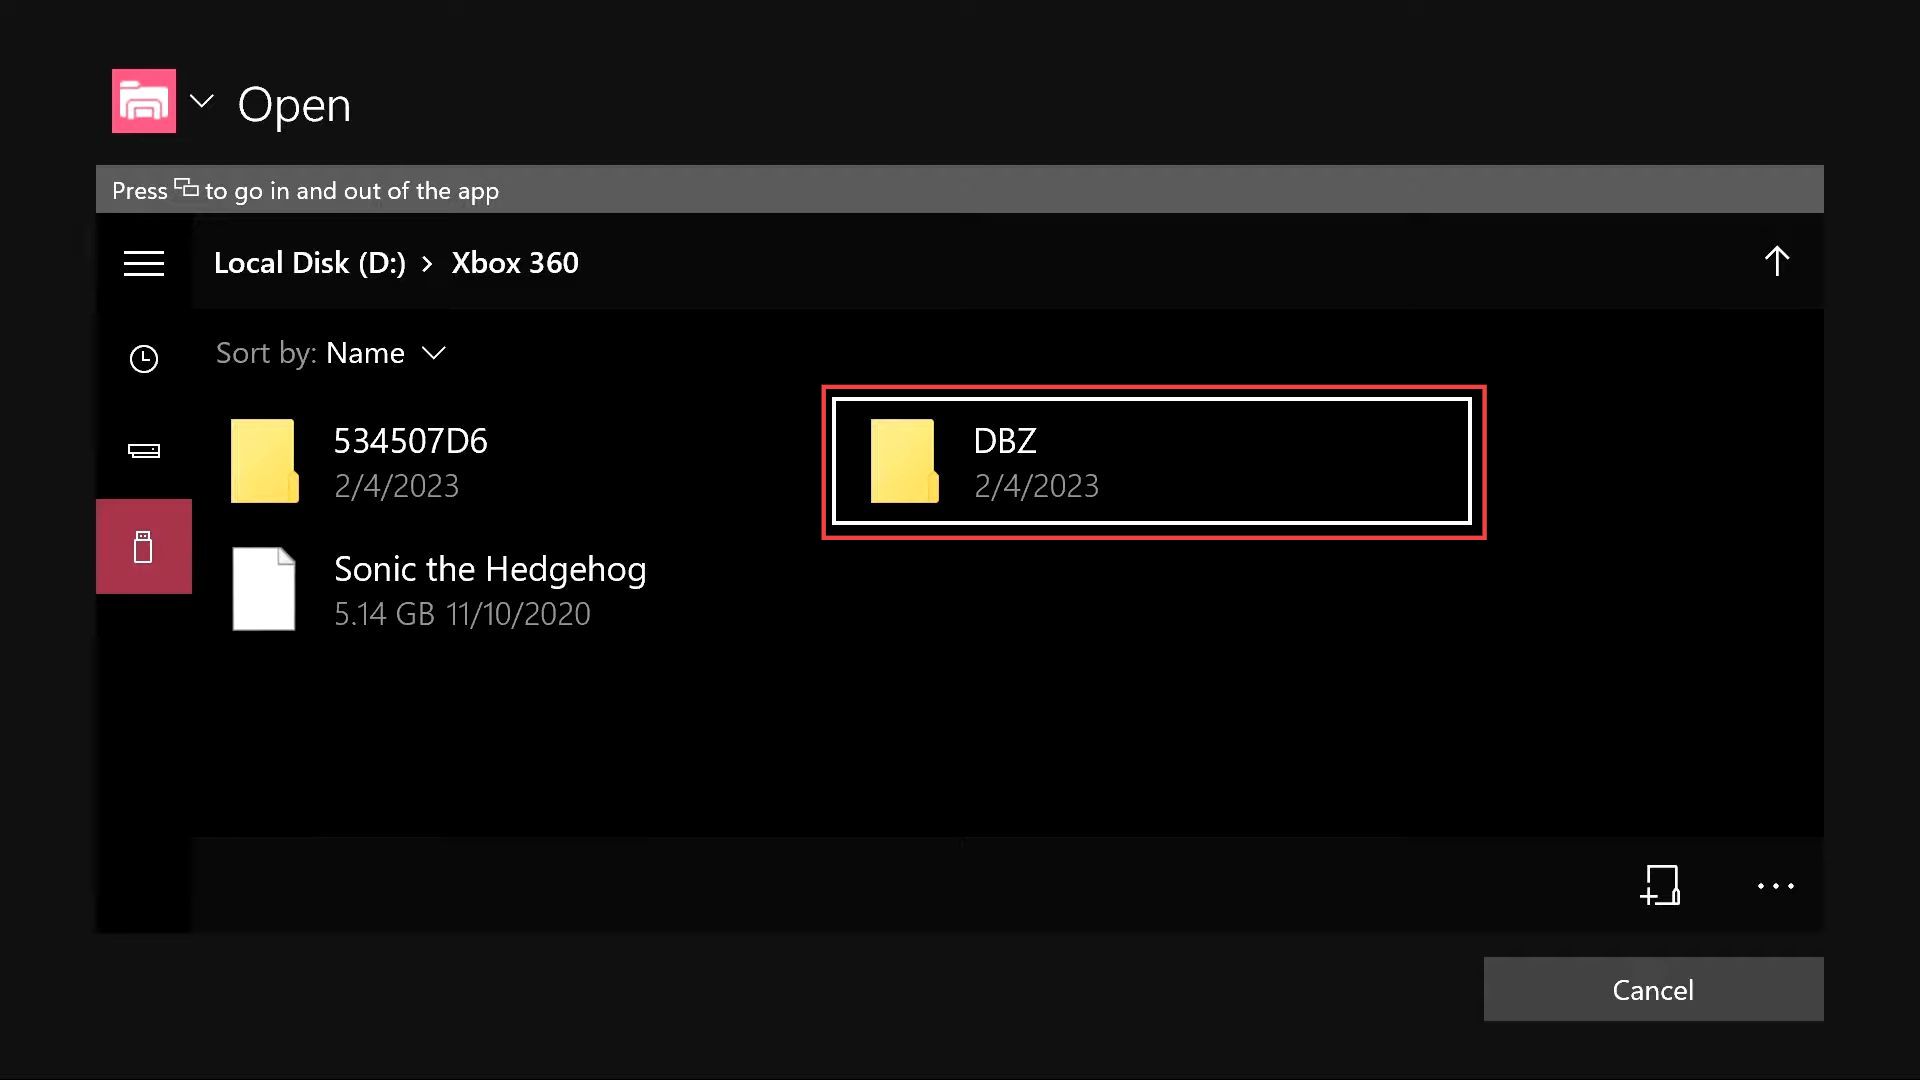
You can rename it to any name for example DBZ.
- Now connect your USB to the Xbox to check the game.
You can see there is nothing in the menu at this moment and controllers are in Auto configure already.
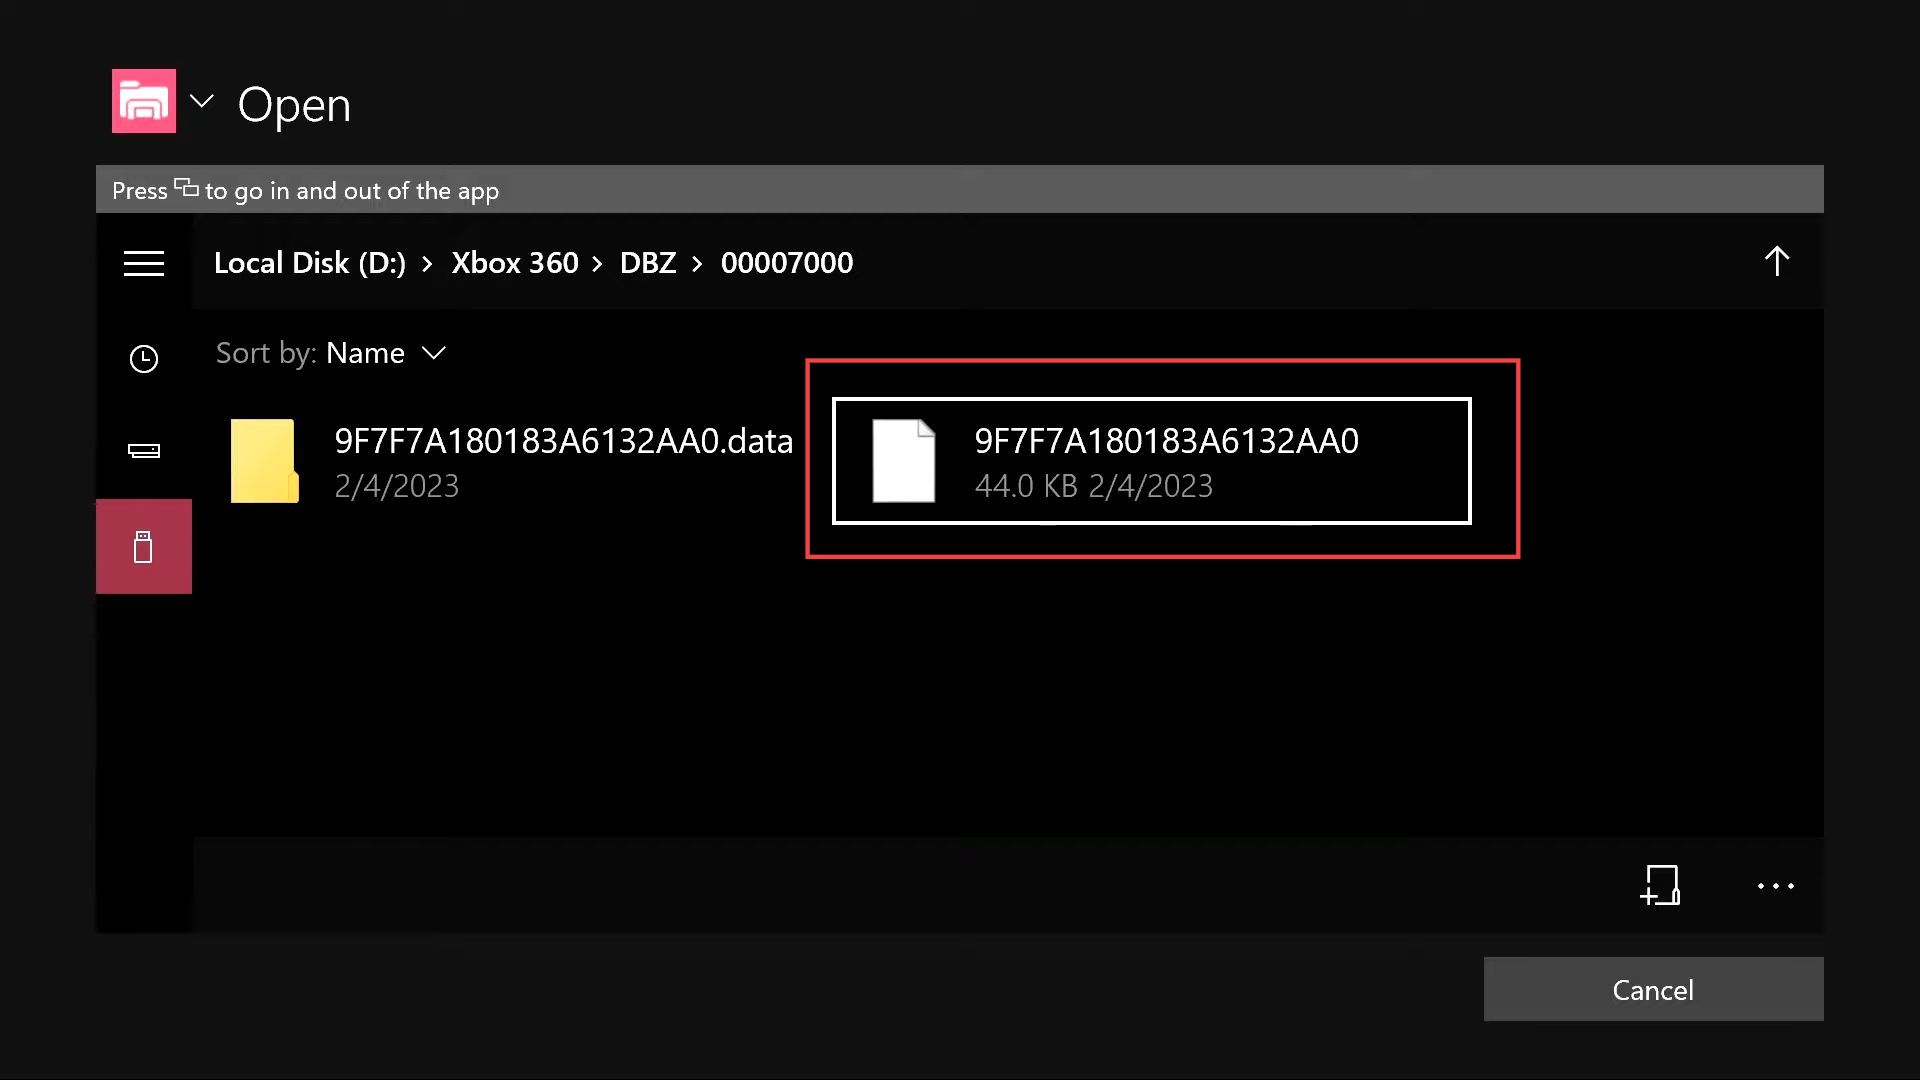
- Click the USB icon from the left side panel and select the Xbox 360 games folder from the menu.
- Now click the DBZ folder from the extended menu of Xbox 360.
- After that, click this ”.data” file having the game in it and check whether it is working.