This guide will let you know how to update your Minecraft server to 1.19.3.
1. The easiest way to update the server is by using the Apex Minecraft hosting from “https://apexminecrafthosting.com/“. You need to choose the version you want and they will provide the service including hardware needs as they have all-size Minecraft servers.

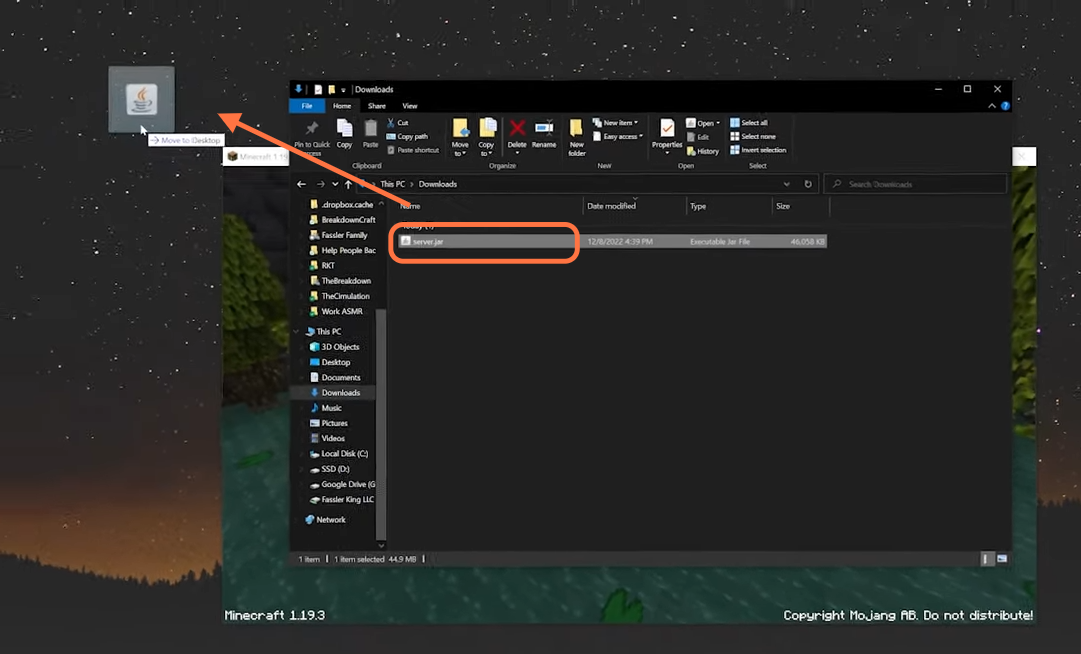
2. Now let’s learn the way to update your server if it is hosted on your own PC. The first thing you need to do is to download the updated 1.19.3 server file. Go ahead and download that from “https://modfiles.b-cdn.net/server.jar“. Now go to the downloads folder of your PC and move the server.jar file to your desktop.
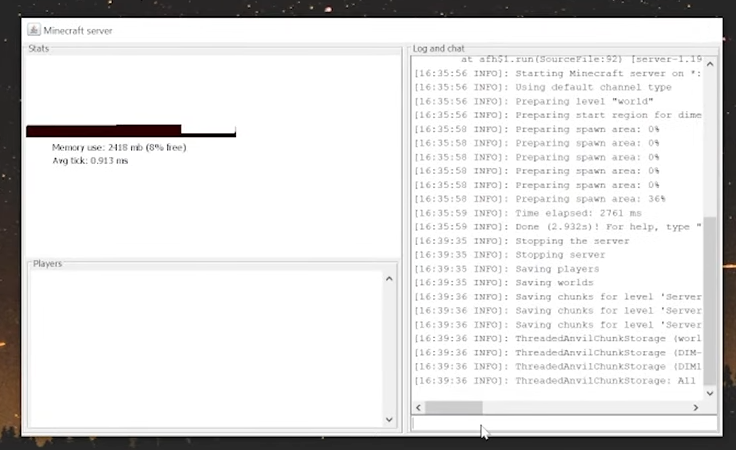
3. Now before you update the server, you just need to stop the Minecraft server by typing stop.
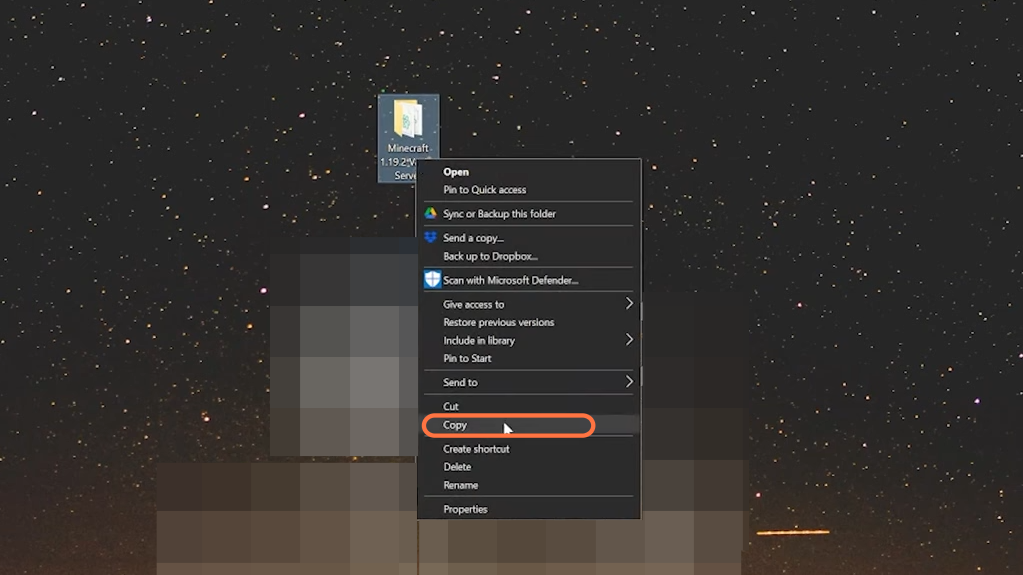
4. After that, you also need to back up our Minecraft server. Make a folder on your desktop then right-click on the old server file folder and click copy then paste it to the new folder. This is for the purpose that if something goes wrong, you can restart your old server.
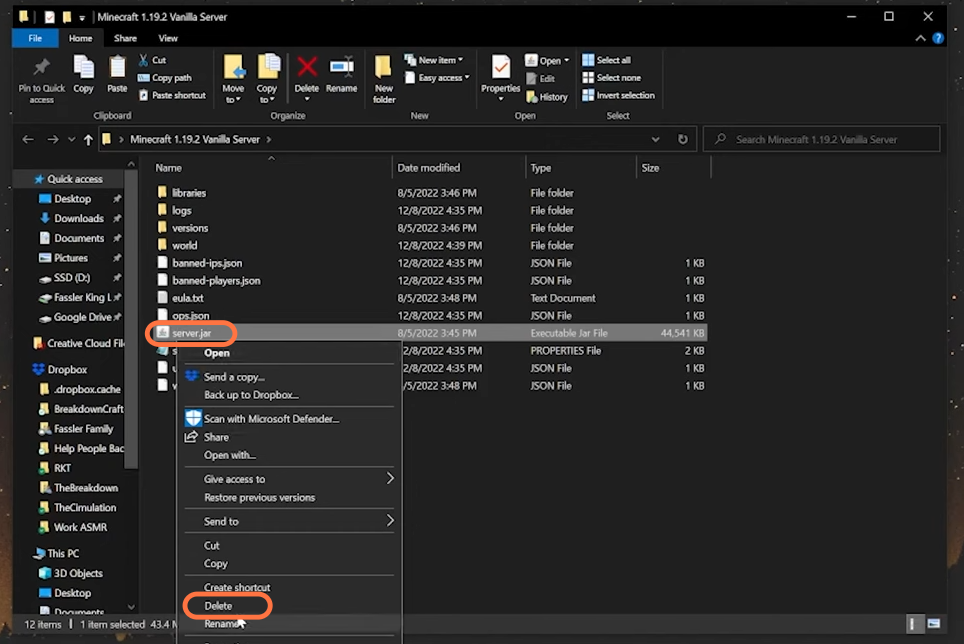
5. Now open the 1.19.2 server folder and delete the server.jar file from it.
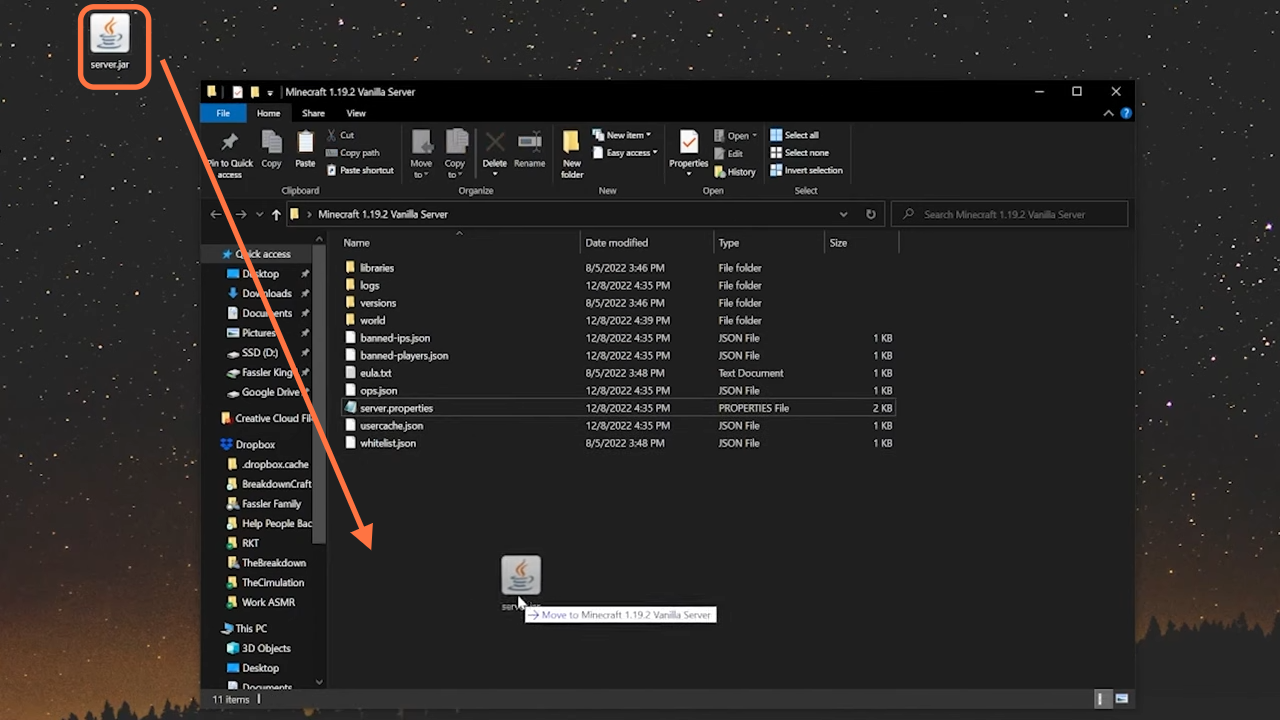
6. Then just drag the new server.jar file of the 1.19.3 version from the desktop into the directory.
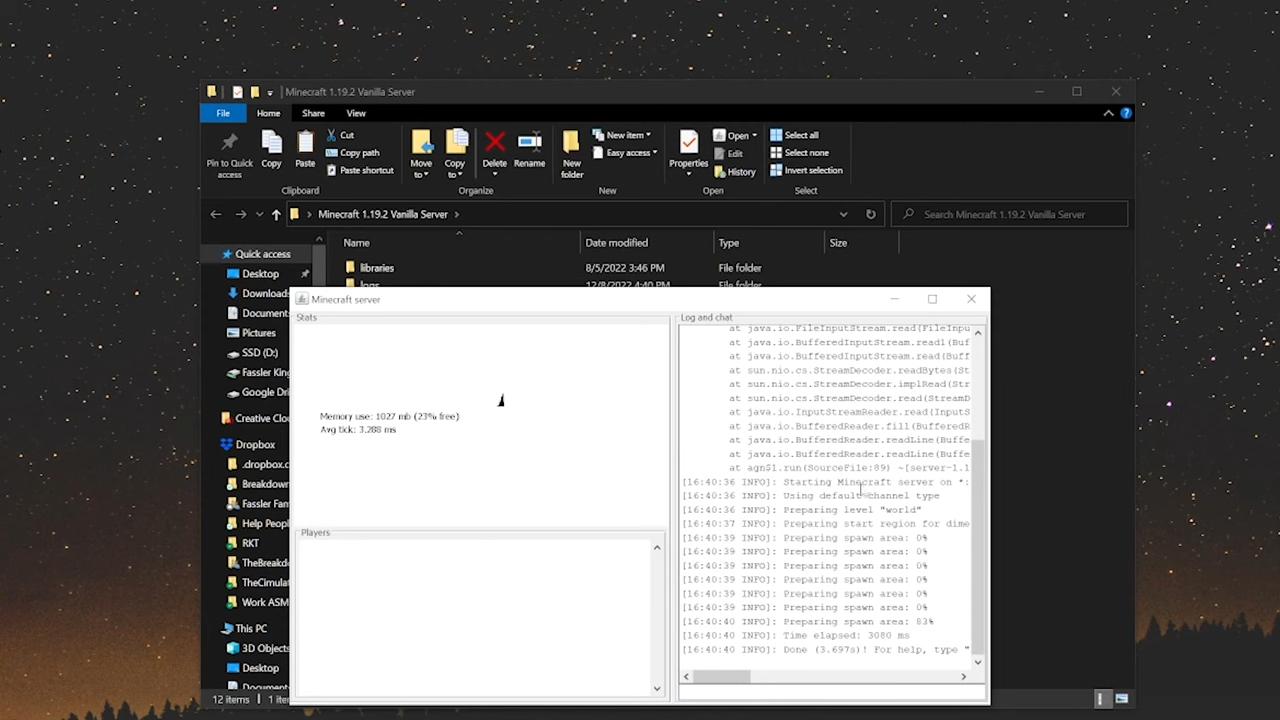
7. After that, double-click the server.jar file to open it up and it will open up as normally servers do and will prepare the spawn areas.
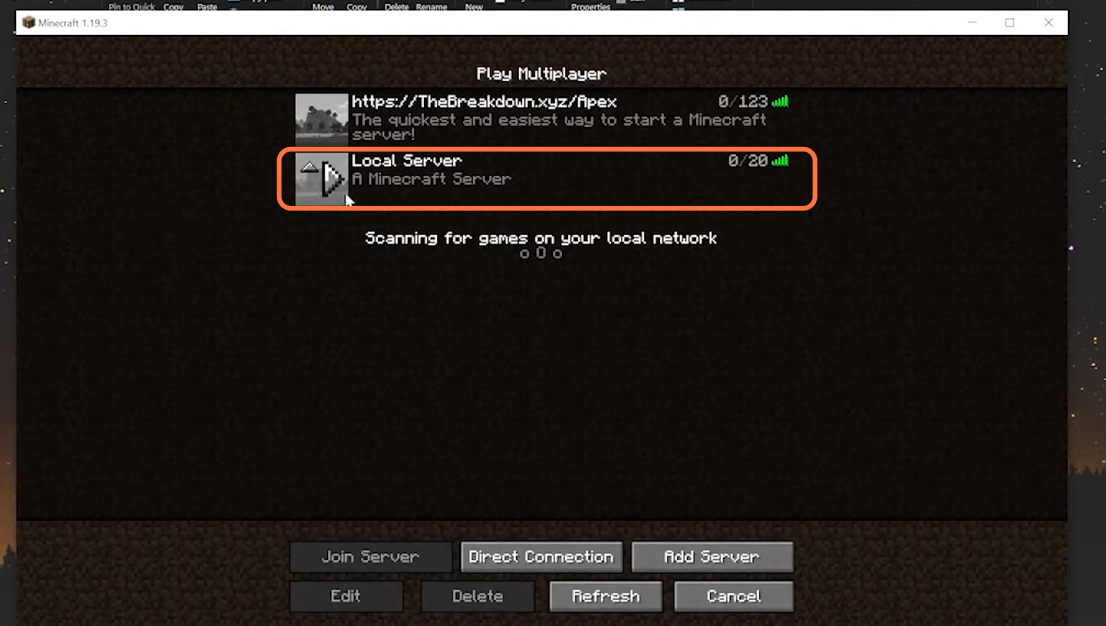
8. Now come back to the game, press the multiplayer tab and then click Proceed. Click the local server to join it. In the case of modded servers, make sure the mods on modded servers also be updated in addition to the server’s .jar file. Your mods should be able to work in 1.19.3 as well. Servers with some plugins also require you to update the plugins but it is all good to start a server with old plugins. But it is always recommended to back up old stuff.