This guide will tell you how to install Diablo Immortal on M1 Mac. First, you have to download the virtual box on your Mac and then create a virtual machine after installation on your Mac. Then you have to set up a virtual machine on your Windows 10 and download battle.net. After this, you can install Diablo Immortal on your Mac.
Download/Install Virtual Box
In this section, we will take you through the steps to download and install VirtualBox. To begin, you’ll need to download VirtualBox, which allows you to create a virtual machine on your Mac.
- Visit the official VirtualBox website and download the “OS X host” package.
- Once the download is complete, navigate to your downloads folder and run the VirtualBox installer.

Create a Virtual Machine
This section describes how to create a virtual machine for Windows 10 after installing VirtualBox.
- Launch VirtualBox and ensure you have the Windows 10 ISO file downloaded.
- In VirtualBox, click on “New” and give your virtual hard disk a name.
- Select the system type and version (choose any Windows version next to Windows 7).
- Click on the Continue button, select the desired RAM allocation, and hit the Continue button again.
- On the next page, choose the “Create a virtual hard disk now” option and press the Create button.

- Select VMDK as the Hard disk file type, and click on the Continue button.
- Select Dynamically allocated on the Storage on physical hard disk window and hit the Continue button. Set the file location and size and press the Create button.
It will create your virtual machine.

Configuring Virtual Machine Settings
In this section, we will take you through the steps to configure Virtual Machine Settings to optimize it for Windows 10.
- Click on “Settings” for your virtual machine and navigate to the “System” tab.
- Ensure the chipset is set to PIIX3, and select Enable I/O Apic in the Extended Features list.

- Navigate to the “Display” section and set the Graphic Controller to “Vbox SVGA.” Checkmark Enable 3D Acceleration and set the Video Memory to the maximum.
- Click “OK” to save the settings.

Install Windows 10
This section describes how to install Windows 10 after optimizing the settings.
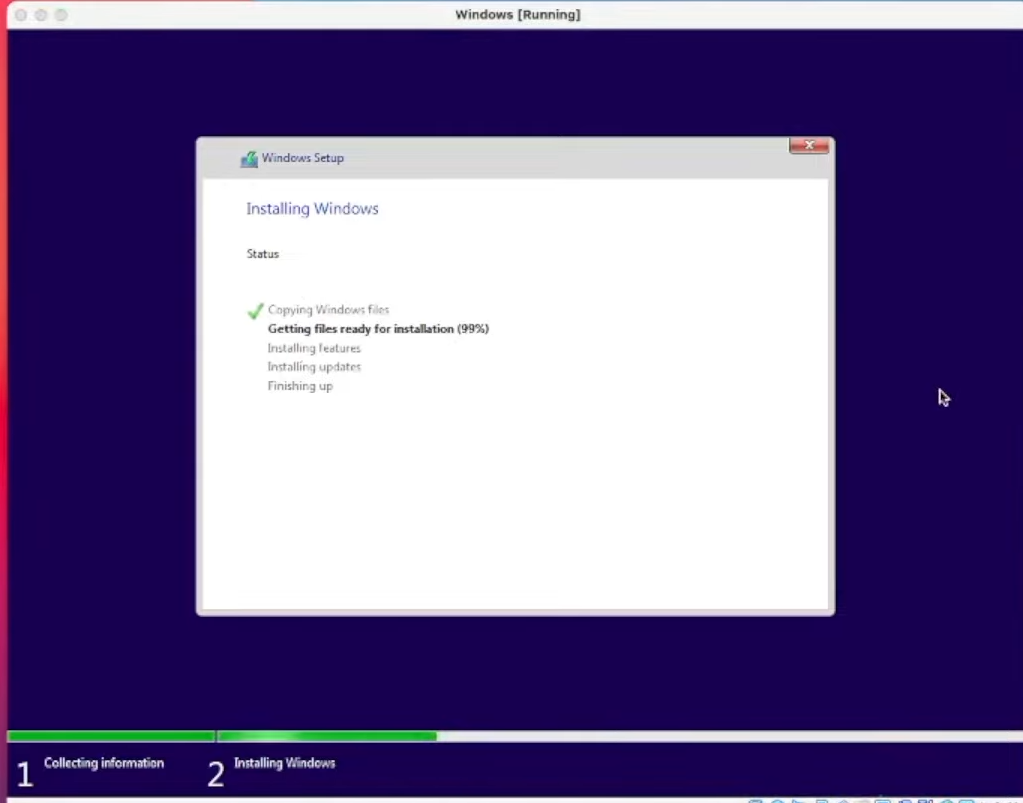
- Start the virtual machine and select the Windows 10 ISO file you downloaded earlier.
- Go through the installation process to complete the Windows installation.
- After installing Windows 10, the next thing you need to do is right-click anywhere on the desktop and go to Display settings.
- Adjust the display resolution to match your monitor’s native resolution.

Download Battle.net Launcher
In this section, we will take you through the steps to download Battle.net Launcher.
- You will need to open your web browser to download the Battle.net launcher.
- Once on the website, locate the Download button in the top-right corner of the screen and click on it.
This will redirect you to the downloader. - Click on the “Allow” button to authorize the download.

Install Battle.net Launcher
This section describes how to install Battle.net Launcher after downloading it.
- Open the Finder and navigate to the “Downloads” folder. Locate the Battle.net setup file and double-click on it.
- If prompted for permission to open the file, click on “Allow.”
- You have to choose your preferred language for the installation and click on “Continue.”
- After that, select the installation location and click on “Continue.”
- Follow the on-screen instructions to complete the installation of the Battle.net launcher.

- Once the installation is finished, launch the Battle.net launcher, and enter your username and password to log in.
- If you don’t have an account, you can create one or sign in using your Gmail or Facebook account.

Game Installation
This section will take you through the steps to install the game. By following the steps below, you will be able to navigate to the All Games section to install the game.
When you open the Battle.net launcher for the first time, it will initiate a game-scanning process.
- Simply click on the “Close” button to stop the scan and then tap on “Continue.”
In the main menu of the launcher, you will find various games available for download and play. - Navigate to the “Shop” section if you want to purchase games.
Note that not all games are available for Mac, so ensure compatibility before downloading or purchasing. - In the “All Games” section, locate Diablo Immortal.
- Click on Diablo Immortal and then press the “Install” button located on the bottom left of the screen.
By default, the game will be installed in the Applications folder, so there’s no need to change the location. Ensure that you have at least 24.31 GB of free storage space on your Mac. - Click on the “Start Install” button to begin the installation process.
The duration will vary based on your internet speed.

- After the installation is completed, click on the “Play” button to start the game.
- If you have an account, log in to access your characters. Otherwise, create a new account to begin your journey.
- To optimize the graphics settings, navigate to the game’s settings and click on the “Graphics” tab.
- Set the Frame rate to 60 and select “Custom” for the Quality settings.
- Adjust Visual effects to “Low,” turn off Anti-aliasing, and set Environmental details to “Low.”

Now you can enjoy playing Diablo Immortal on your Mac with optimized graphics settings.